Deploy Instance from AMI
Deploy EC2 Instance from AMI
Below is a detailed guide to deploy an EC2 instance from the newly imported AMI:
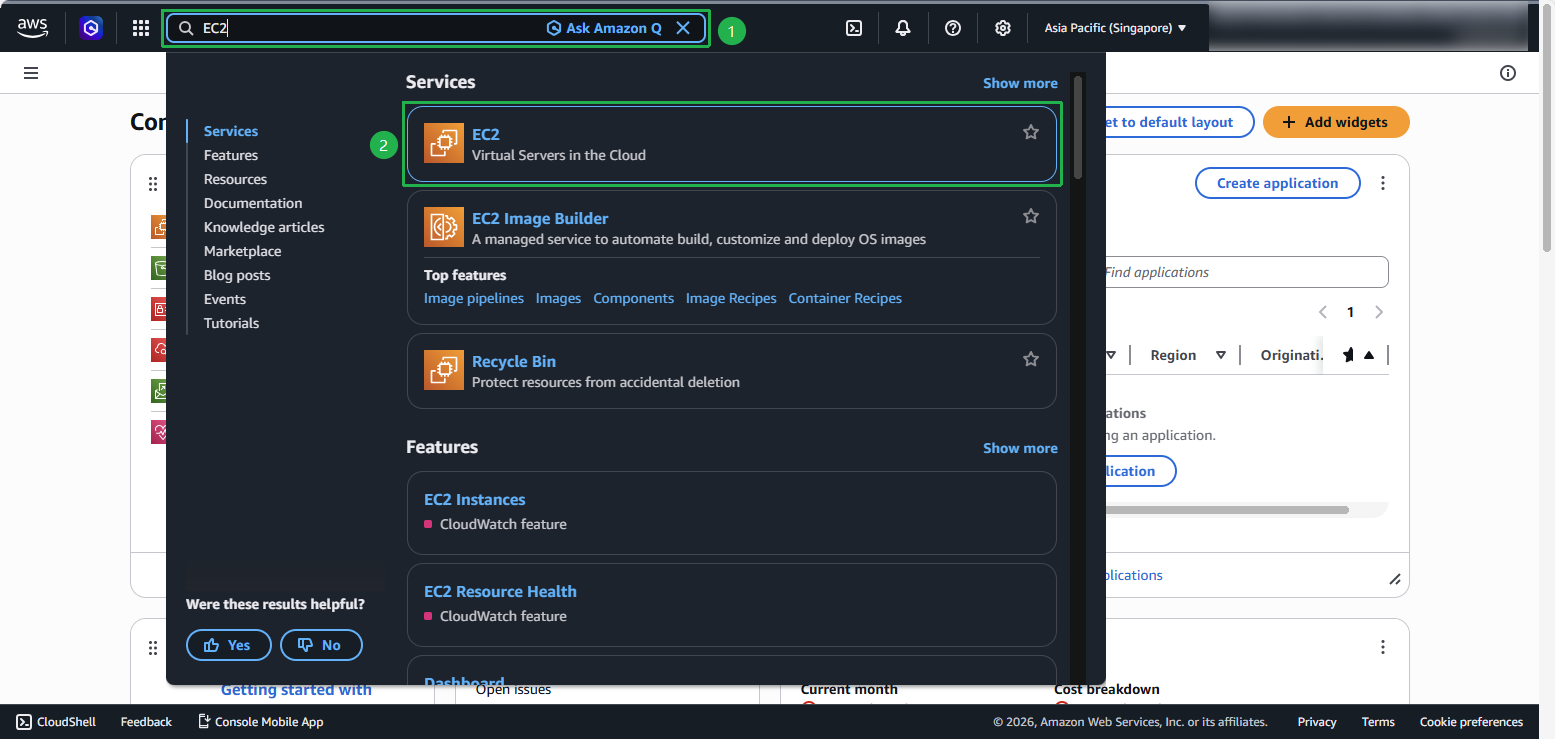
Access the Amazon EC2 console.
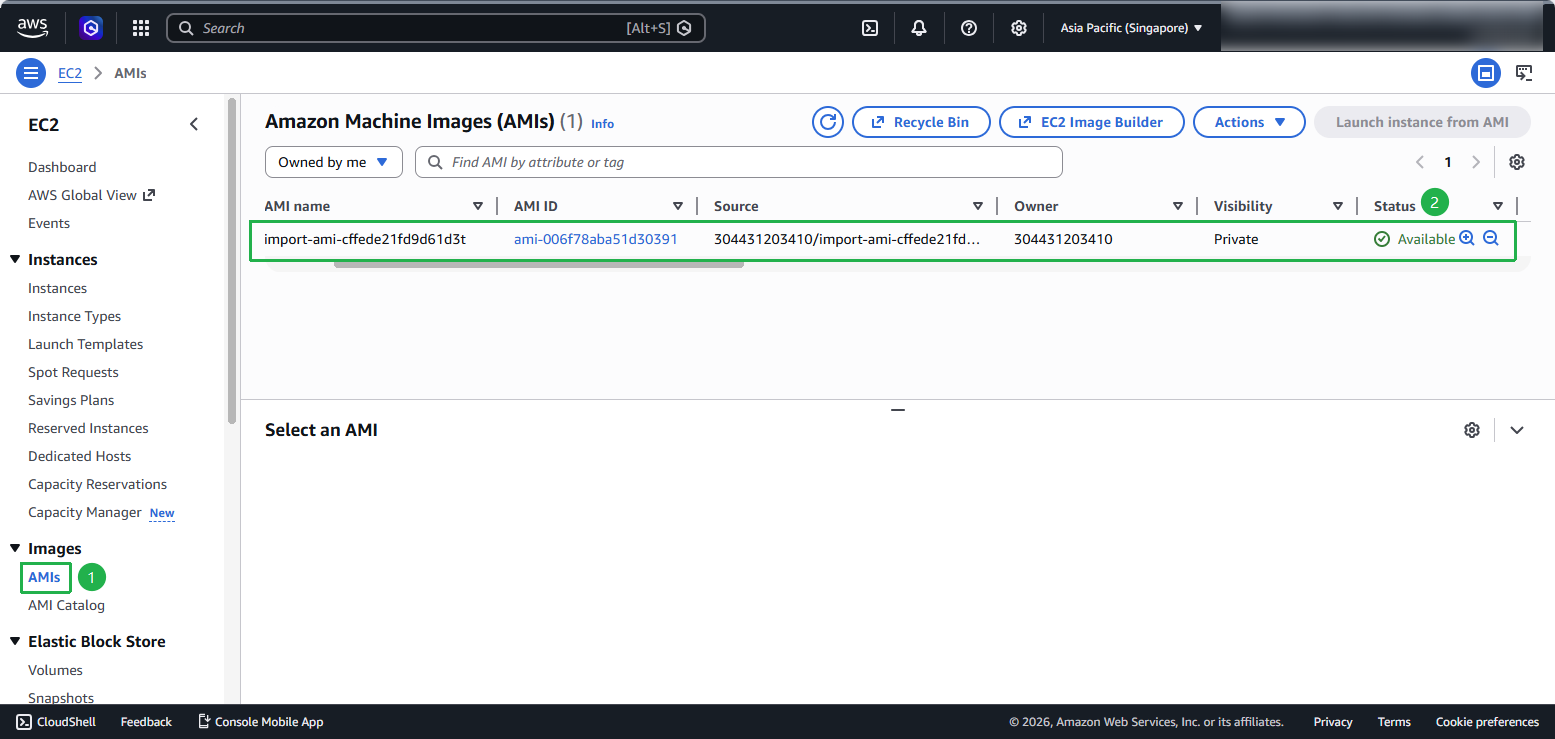
In the navigation pane, select AMIs.
Find and select the AMI you just imported (e.g.,
ami-0f0f06b6fef407b6f) and click Launch instance from AMI.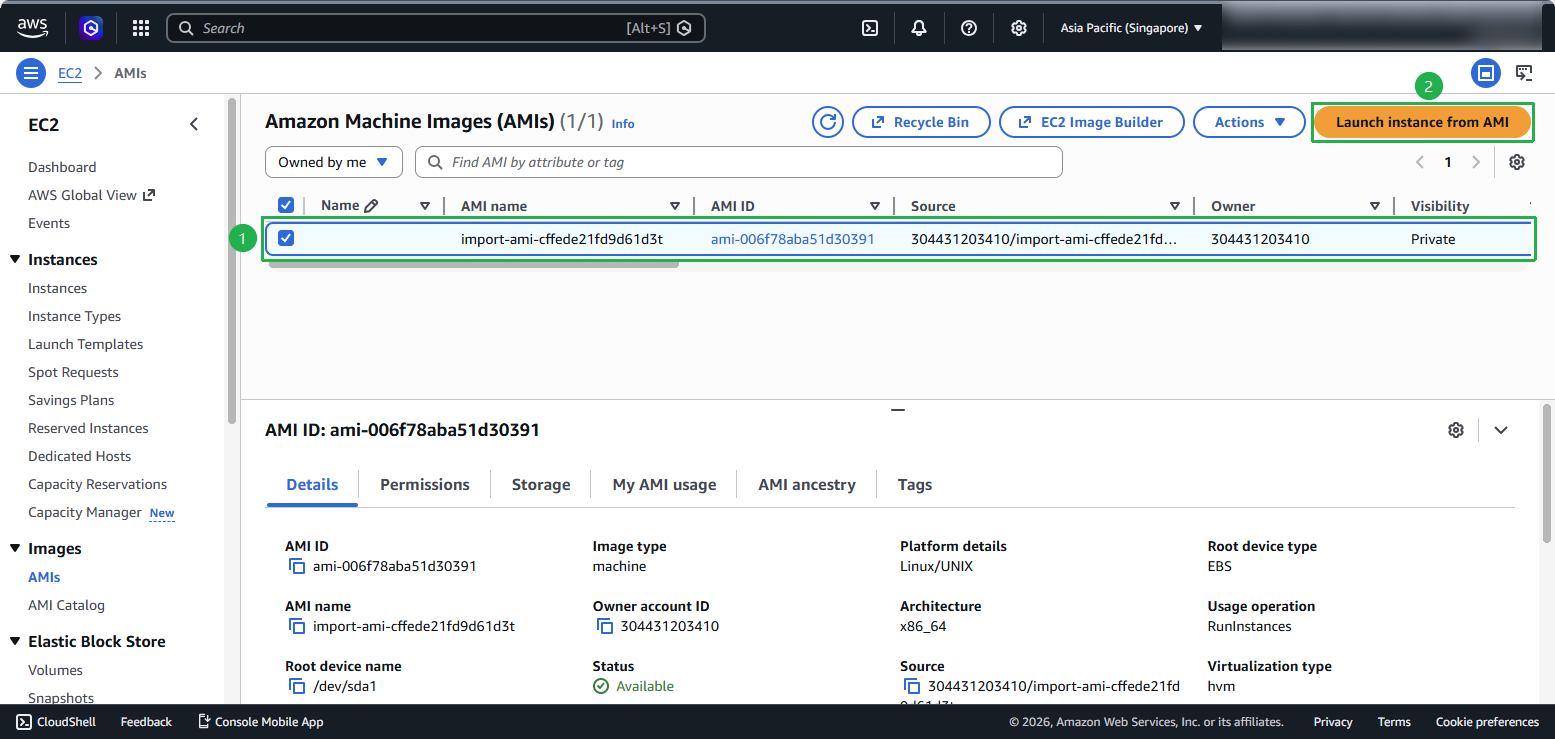
Name: Enter a name for the EC2 instance, for example:
Import-Server.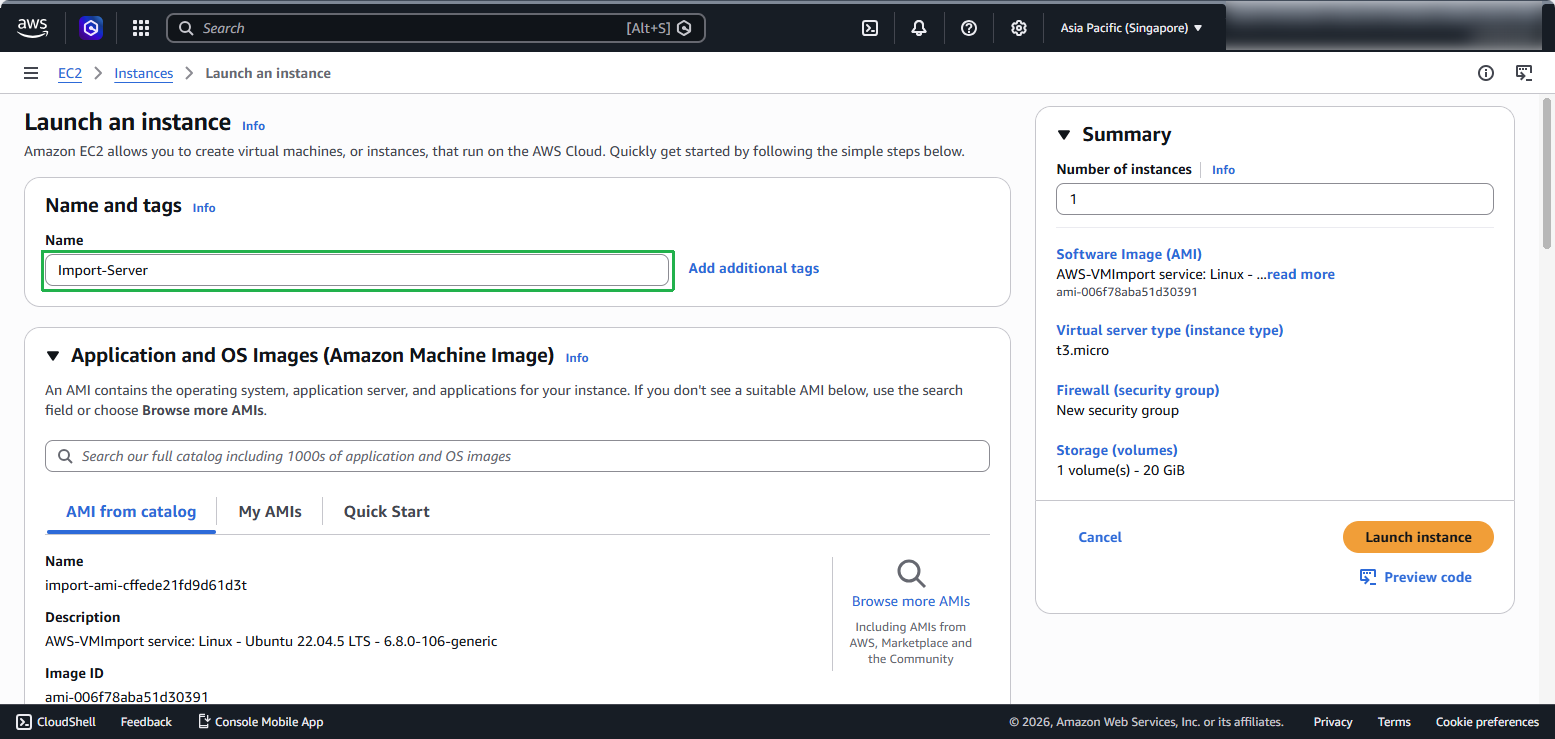
AMI: Keep the default selected AMI.
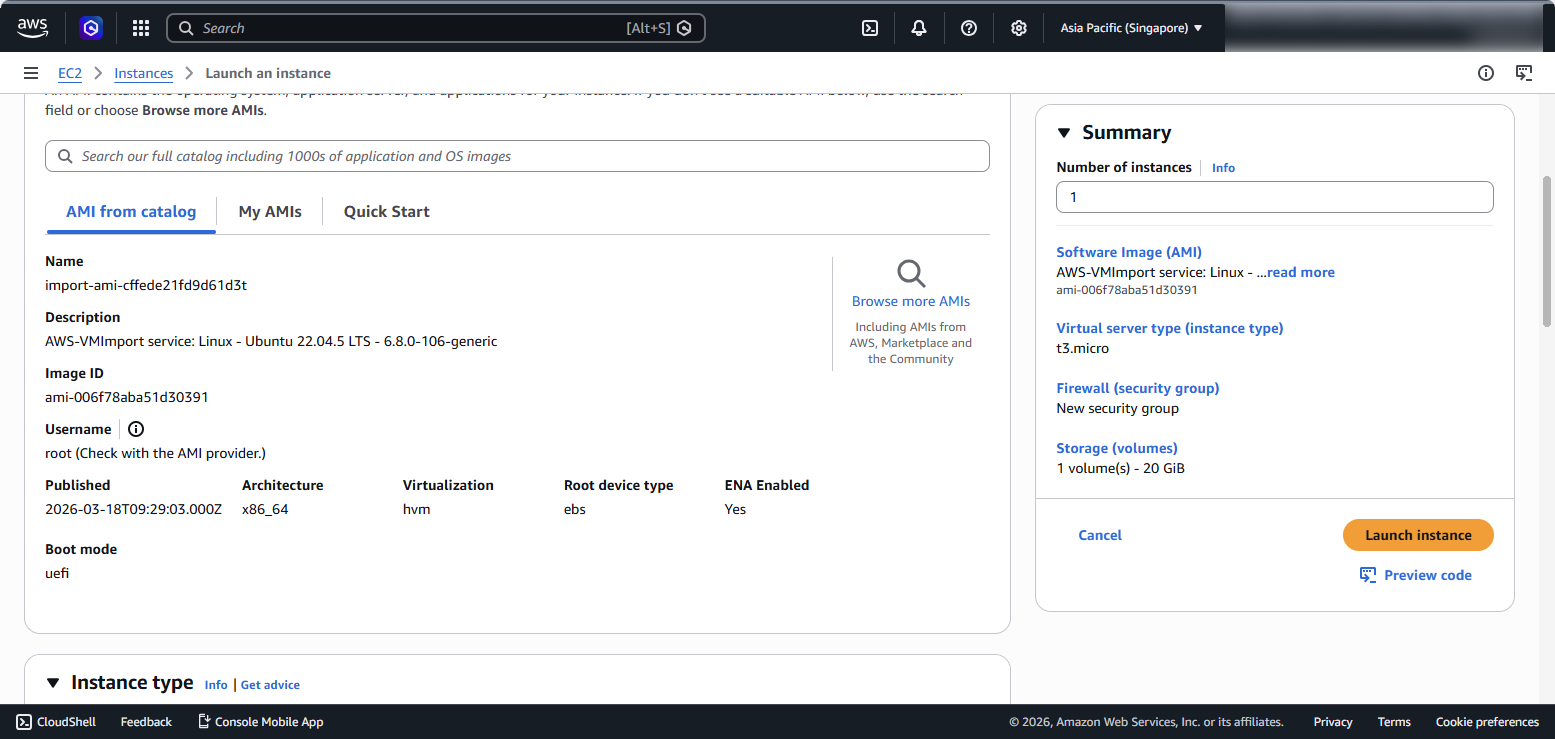
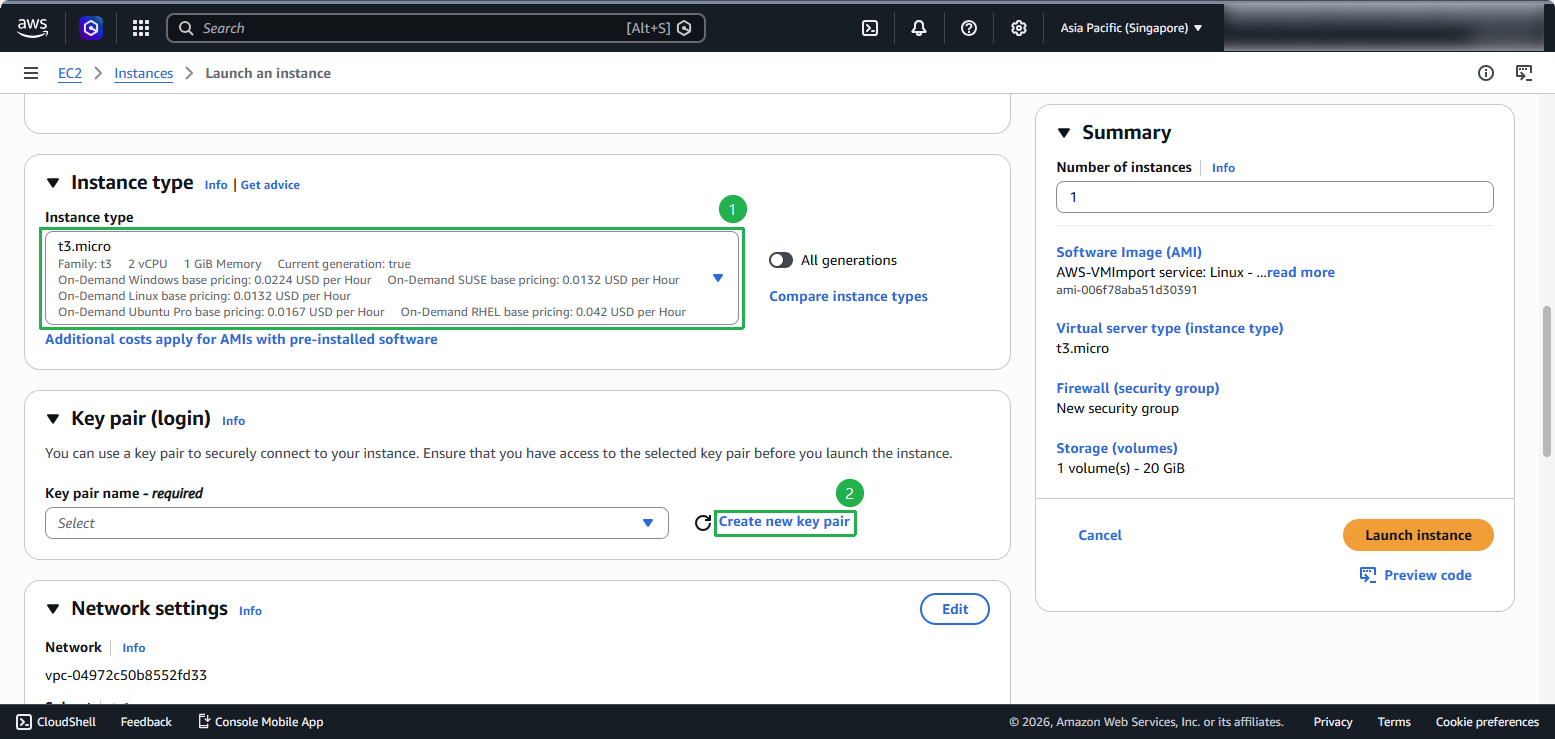
Instance type: Keep the default selected instance type and click Create new key pair.
In the Create key pair window, enter the key name as
import-server-key, select type RSA and format .pem, then click Create key pair to download the key to your machine.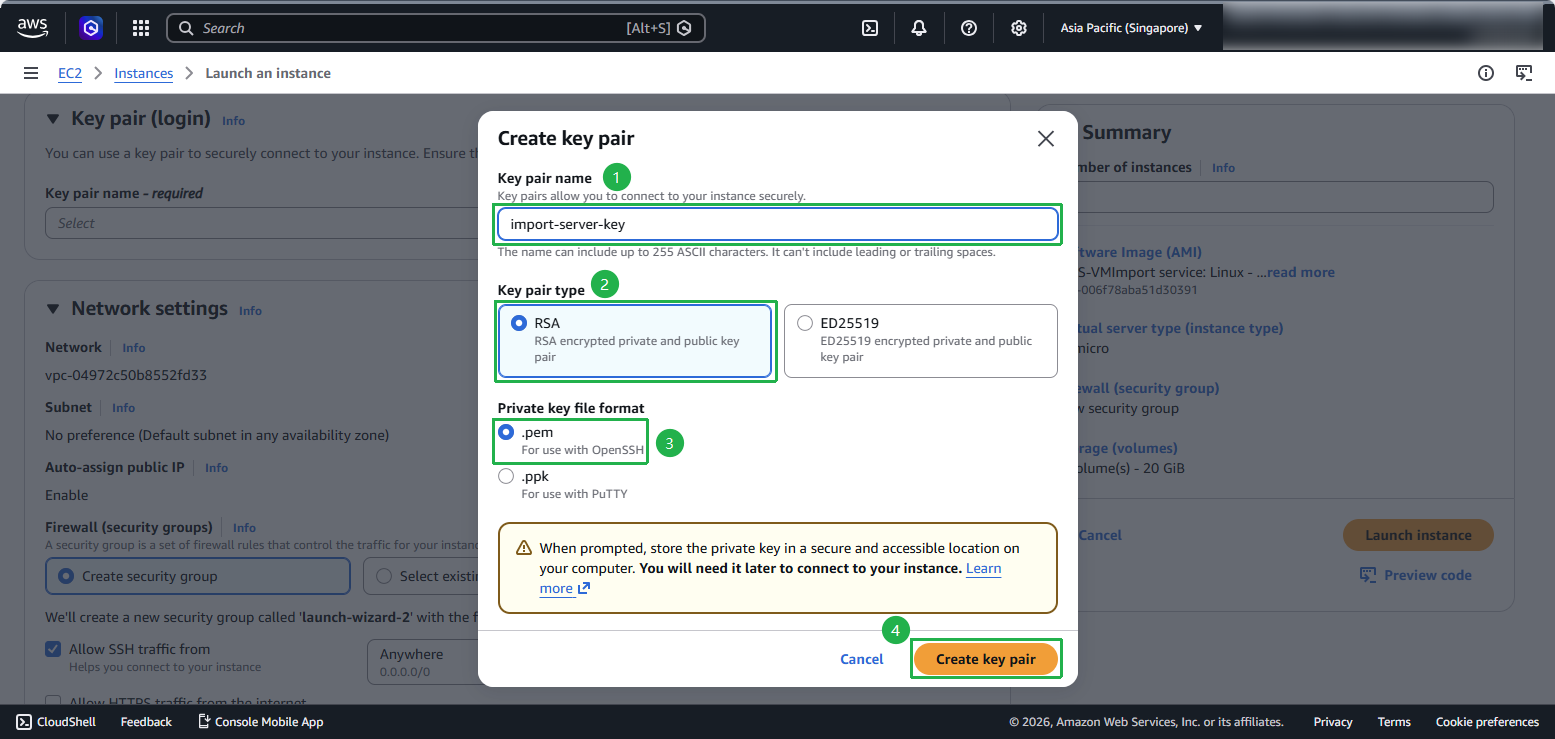
In the Network settings section, select Create security group, check to allow SSH, HTTPS and HTTP traffic from the Internet.
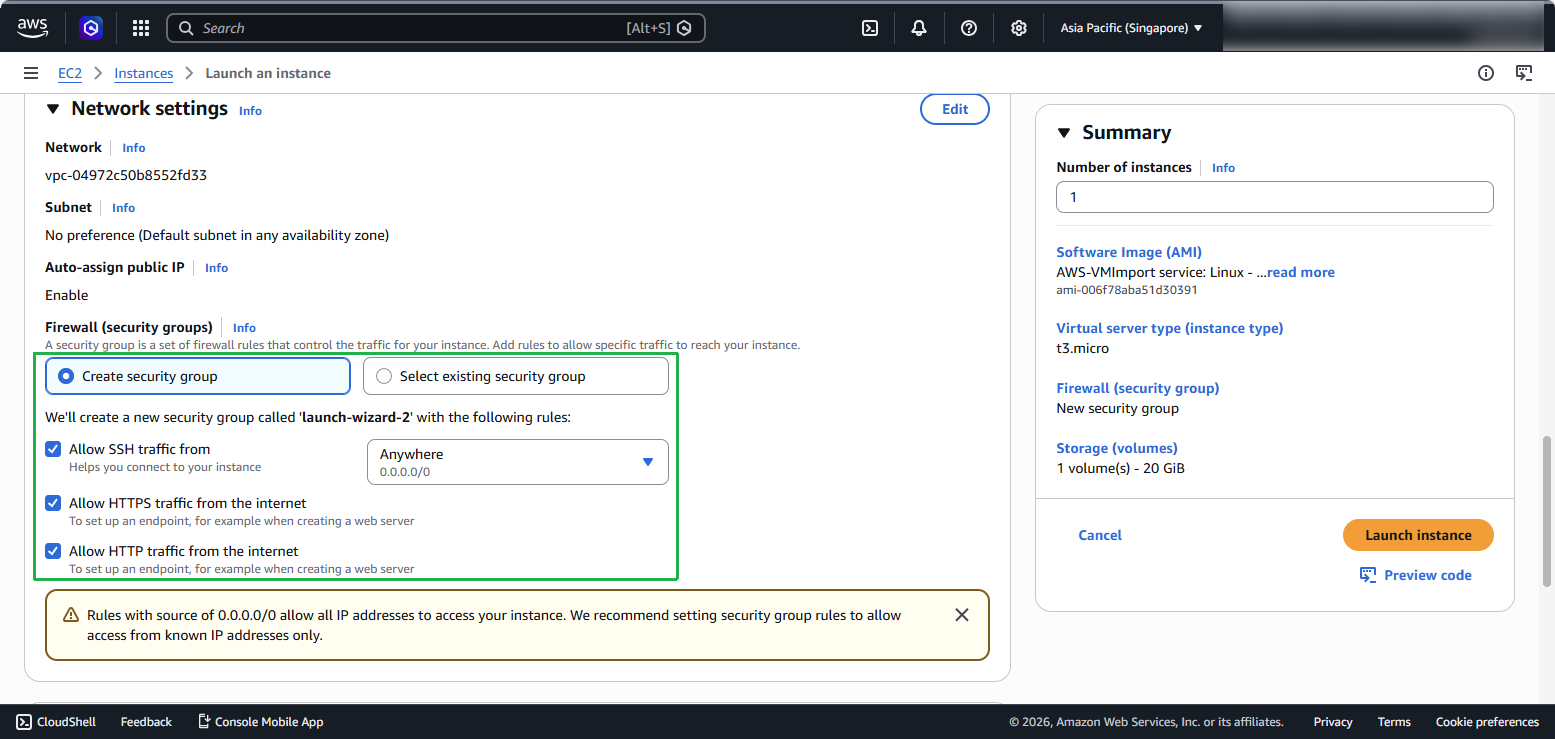
Click Launch instance.
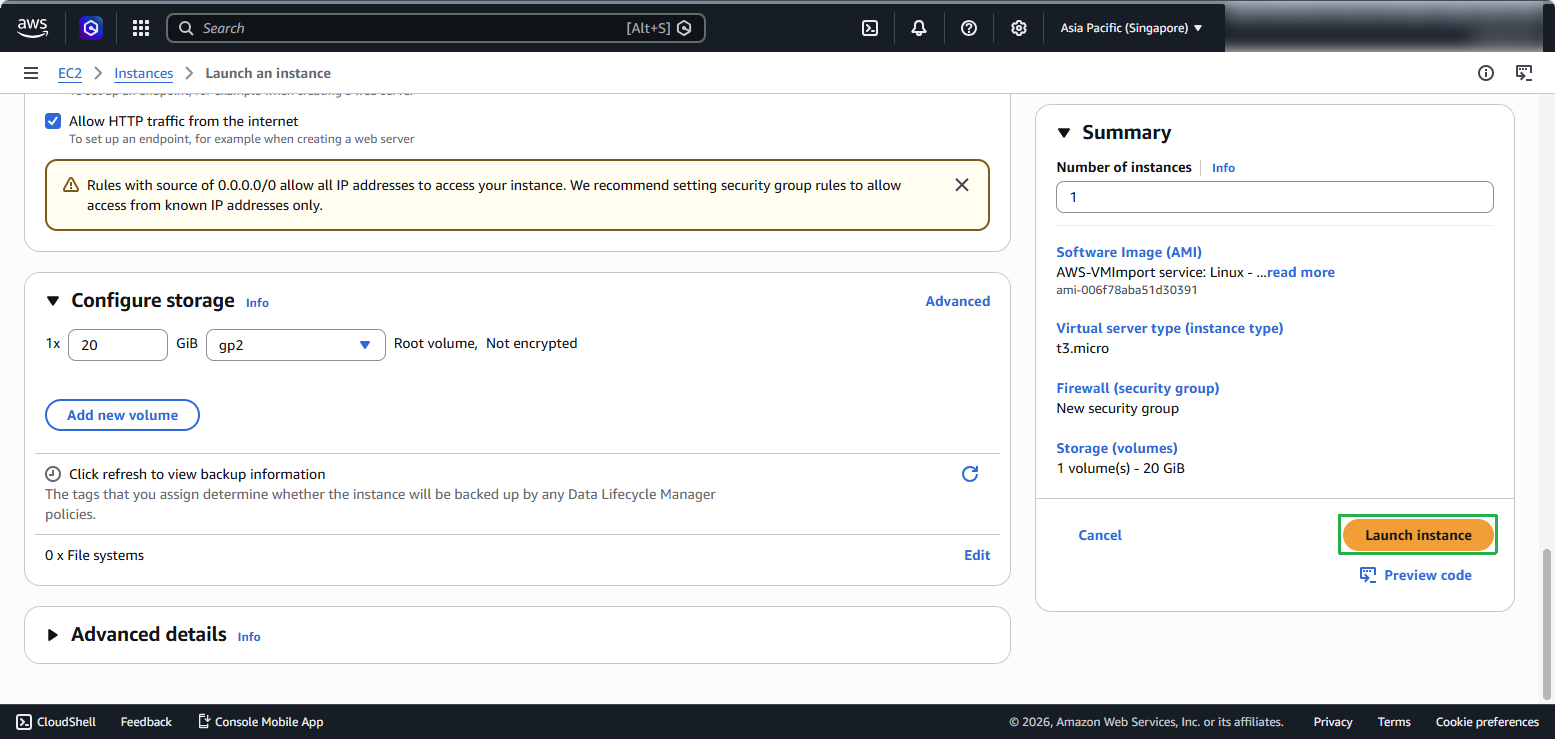
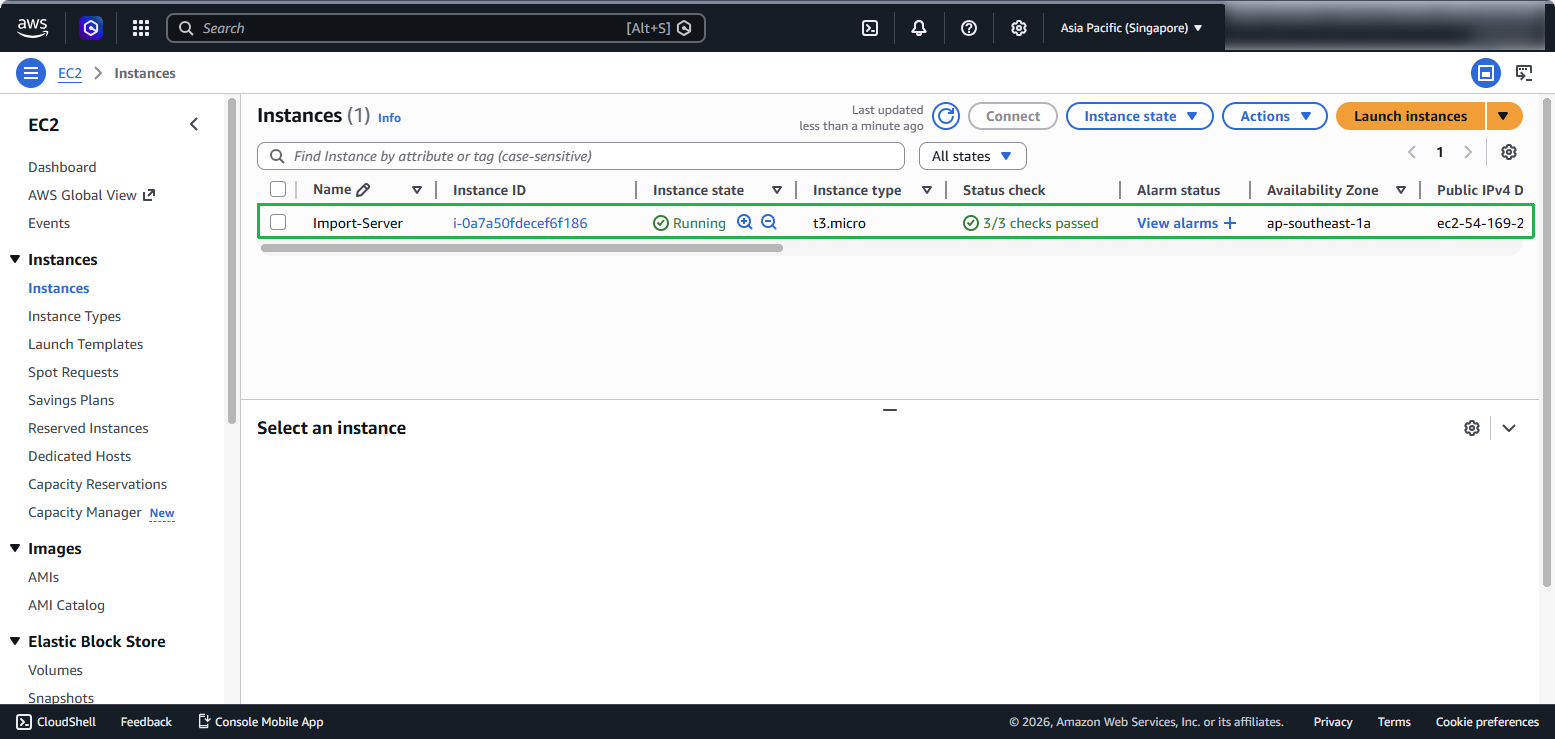
Confirm the information of the newly created instance.
Download and install MobaXterm tool. Then, open the application, click the Session button, and select SSH protocol.
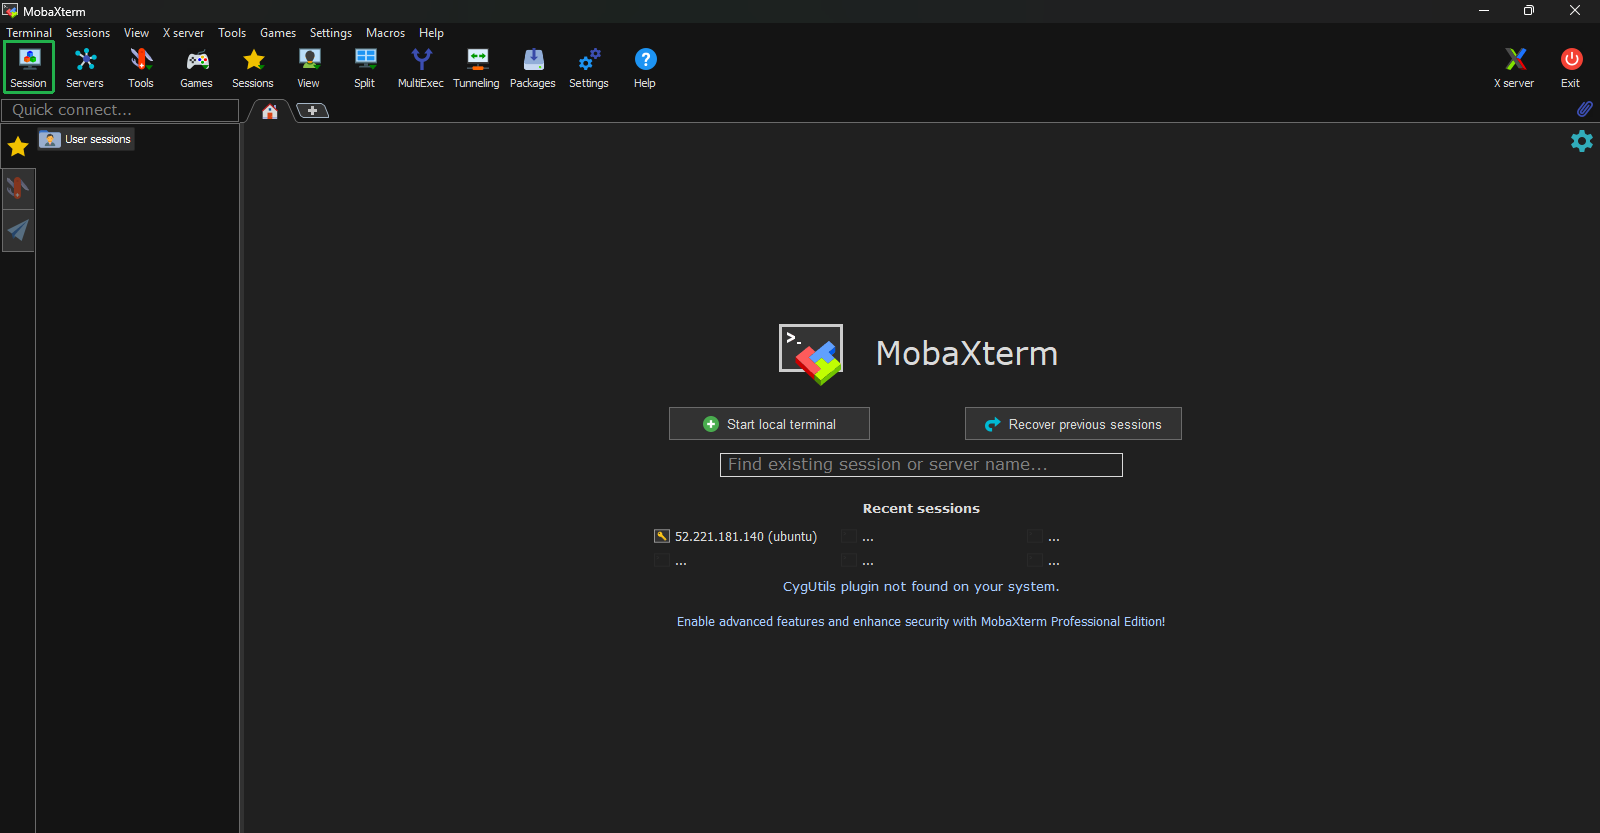
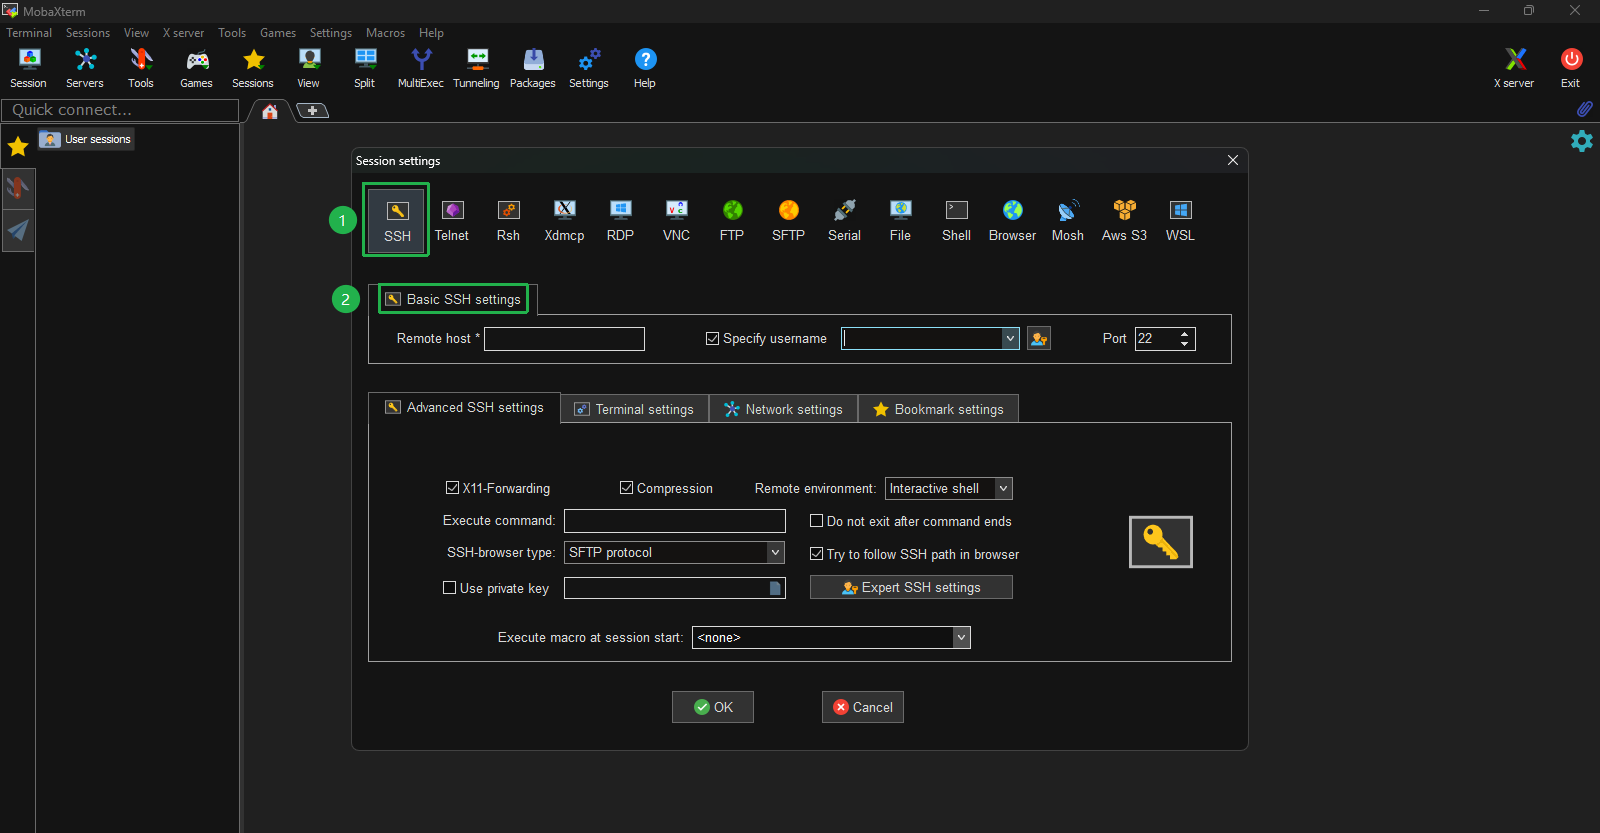
Select SSH client to get connection information and enter the server’s IP address in the Remote host field to start the connection.
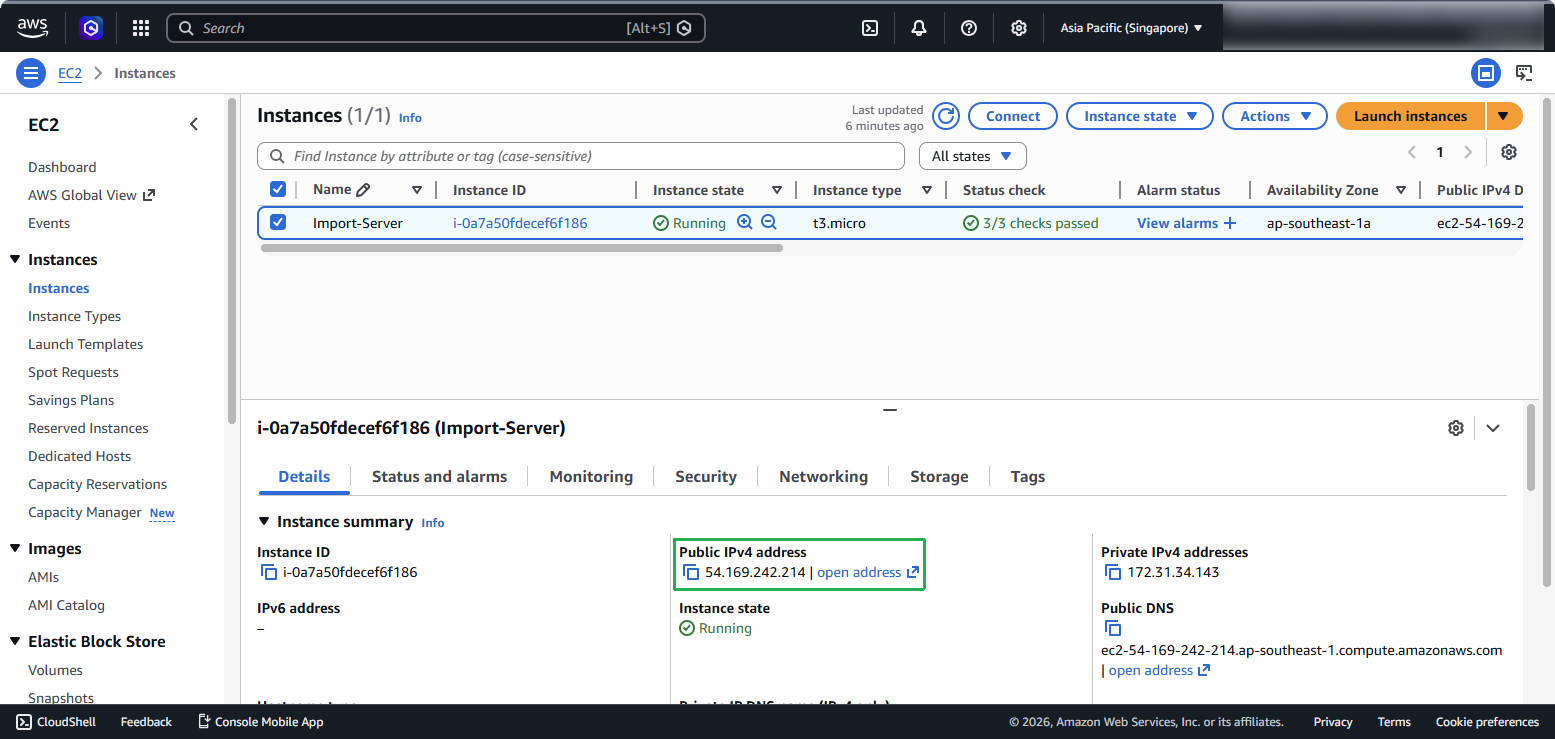
Enter the Public IP address of the server in the Remote host field and enter the username
fcajstudentin the Specify username field. Next, open the Advanced SSH settings tab, check Use private key and point the path to the import-server-key.pem key file saved on your machine. Finally, click OK to save the session and start accessing the server.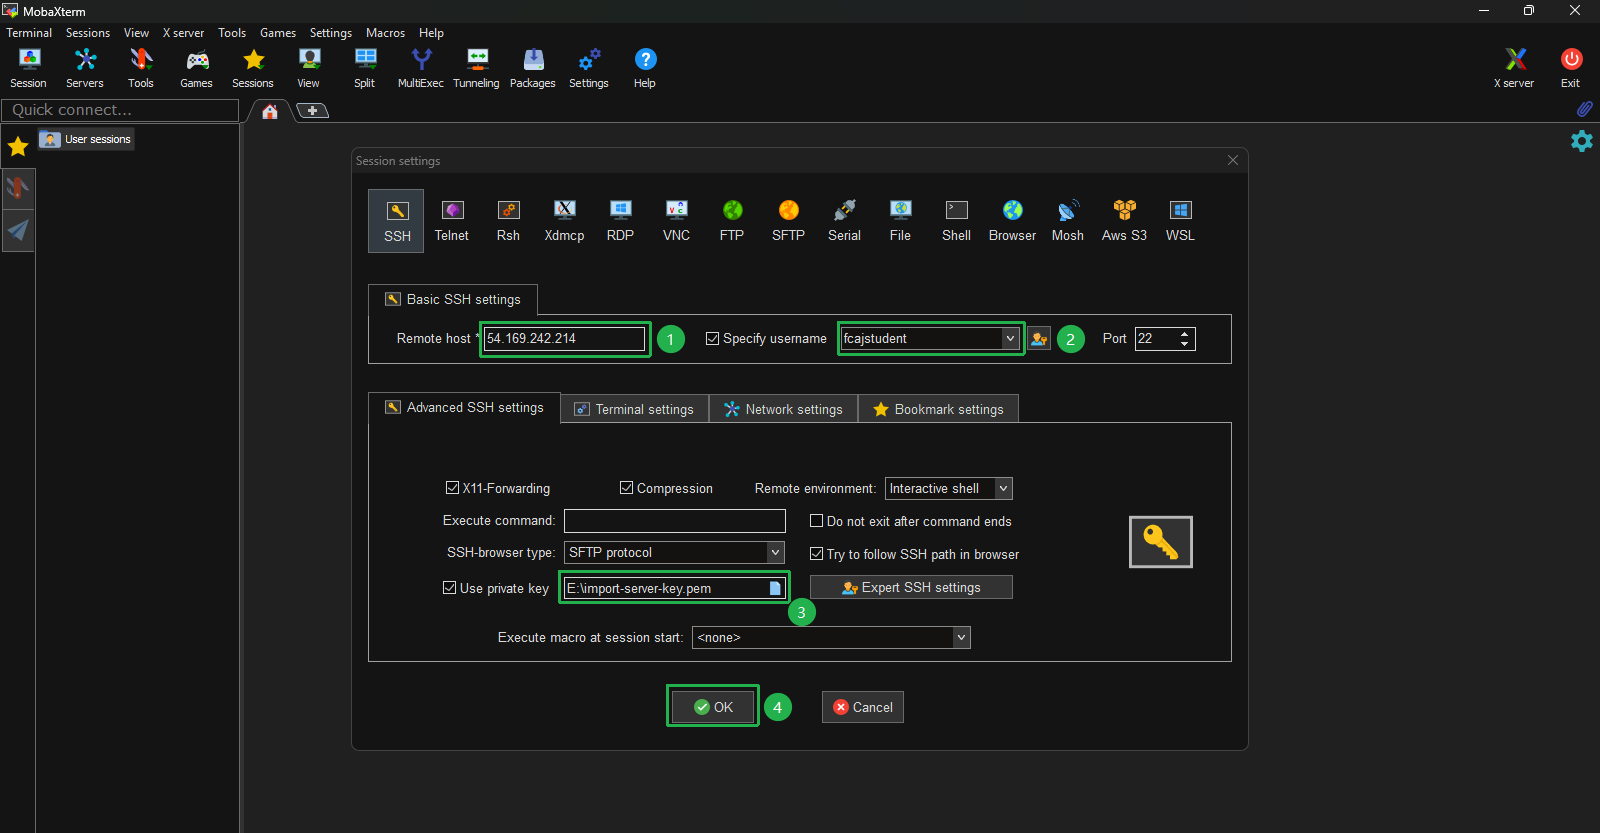
Enter password to complete SSH authentication.
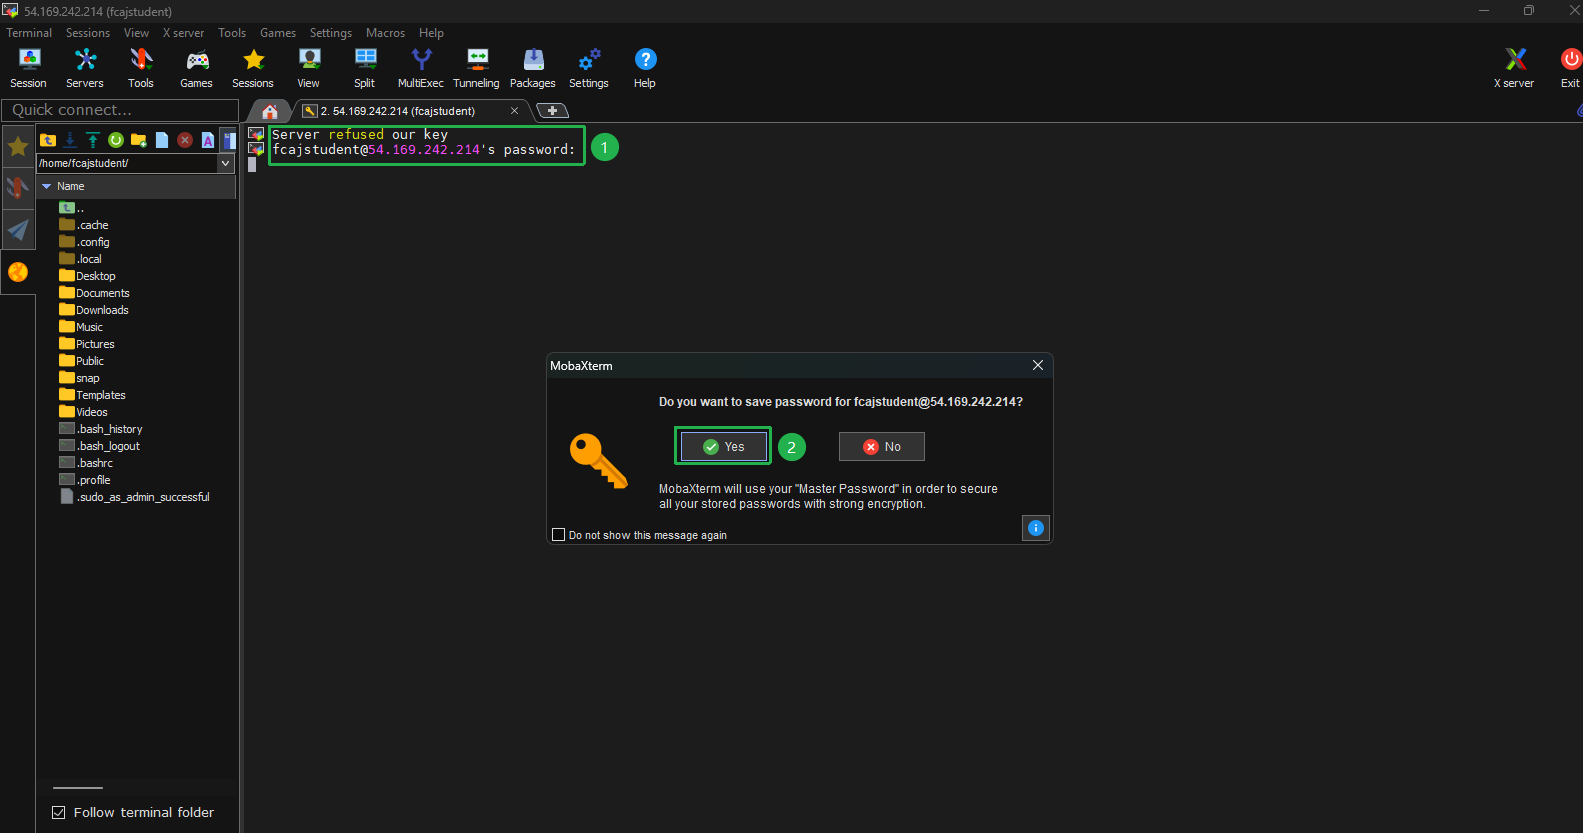
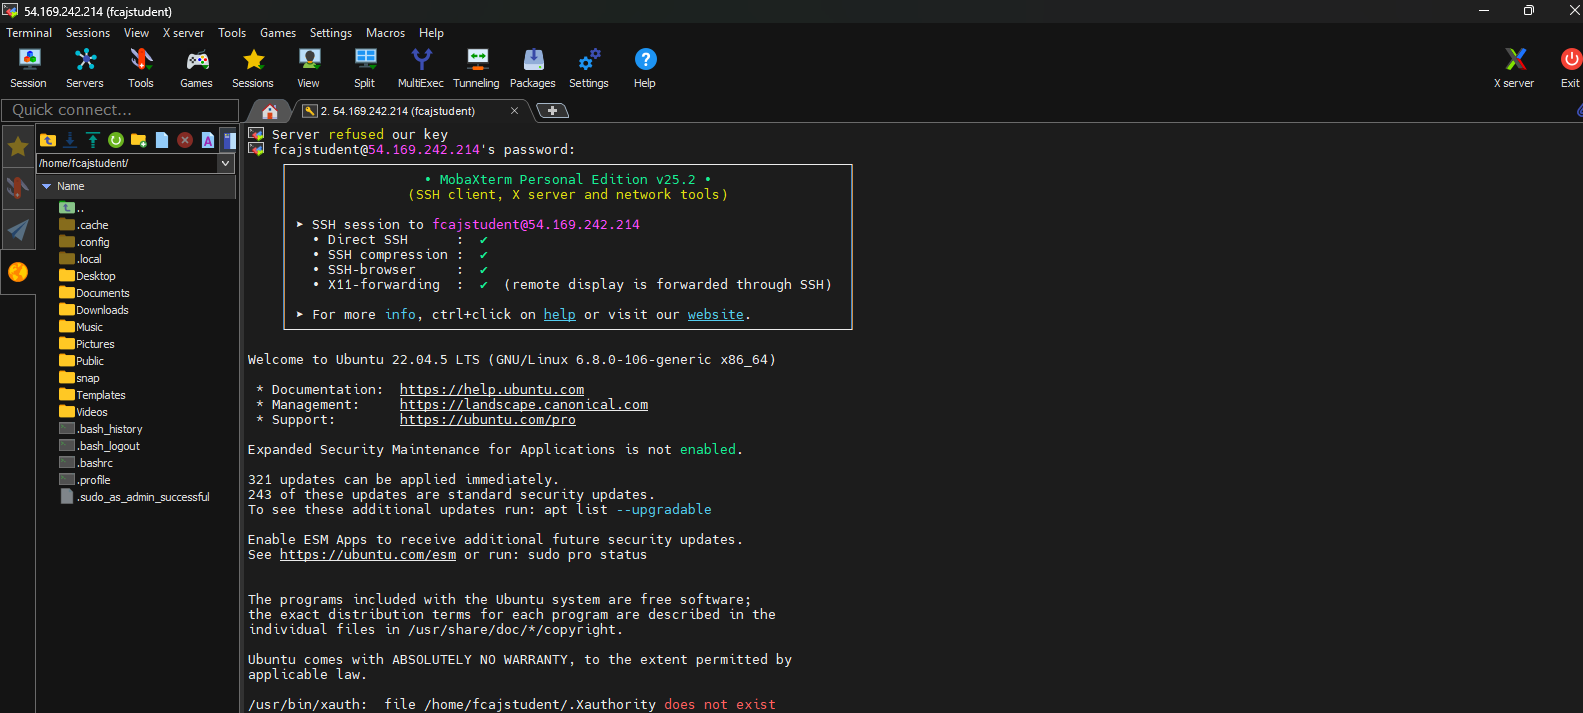
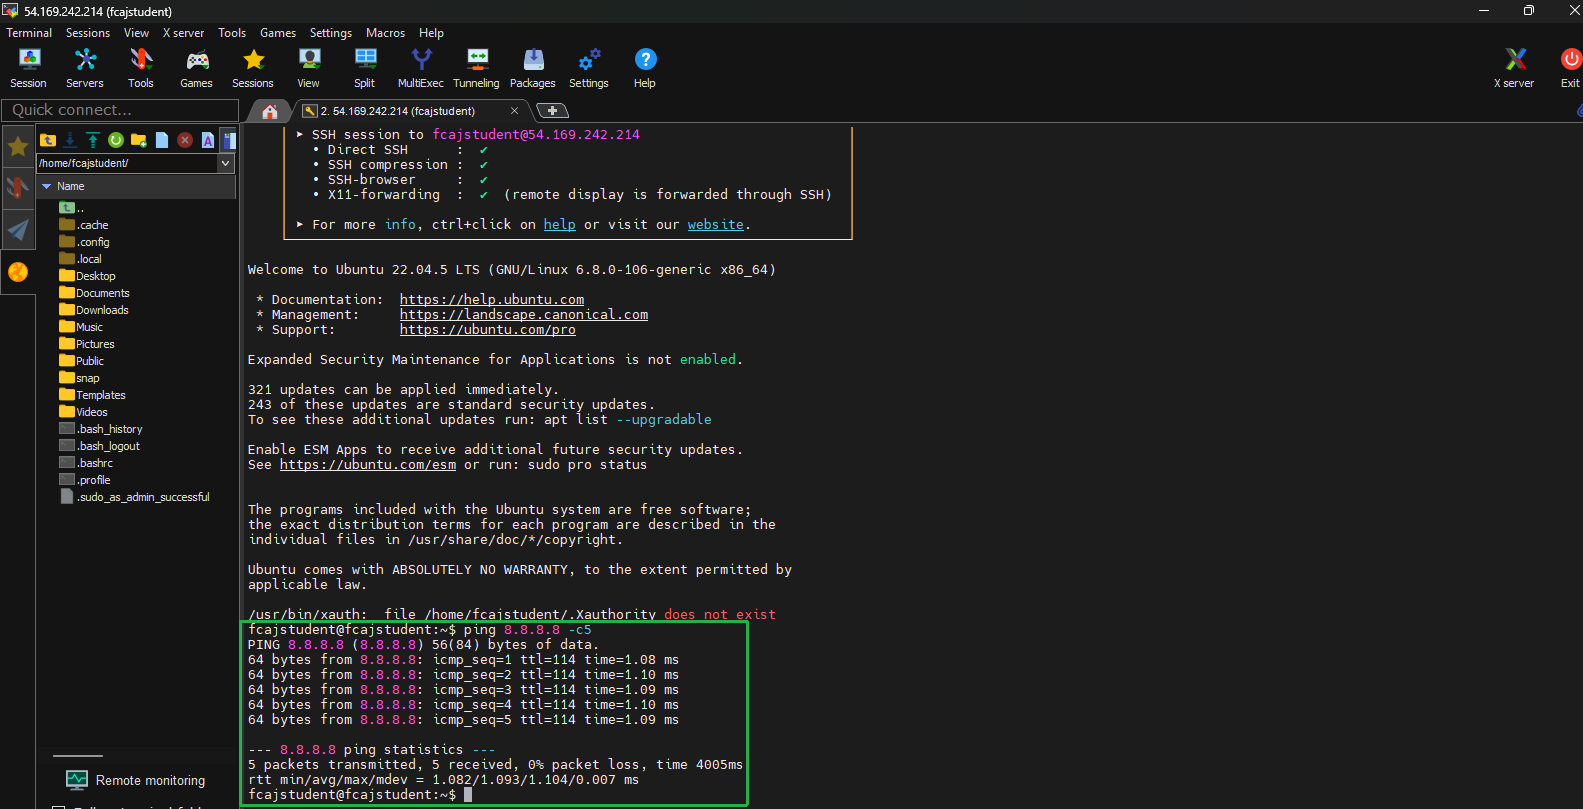
After successful SSH connection, you have completed deploying the EC2 instance from AMI and can check connectivity using ping command, for example
ping 8.8.8.8 -c5