VMWare Workstation
Overview
In this step, you will perform the initialization of a virtual machine on your on-prem virtualization environment. The virtual machine that will be initialized is Ubuntu Desktop.
As part of the exercise, you will deploy virtual machines in a virtualized environment VMWare Workstation on-premise.
Prepare Virtual Machine in Virtualized Environment - VMWare Workstation
Note: To complete this step, you need to install VMWare Workstation Pro. Although the app is paid, you will be allowed to use it for free for the first 30 days.
-
Install VMWare Workstation Pro from here.
-
Download the Ubuntu operating system from Ubuntu’s official download page.
-
Access VMWare Workstation and select Create a New Virtual Machine:
-
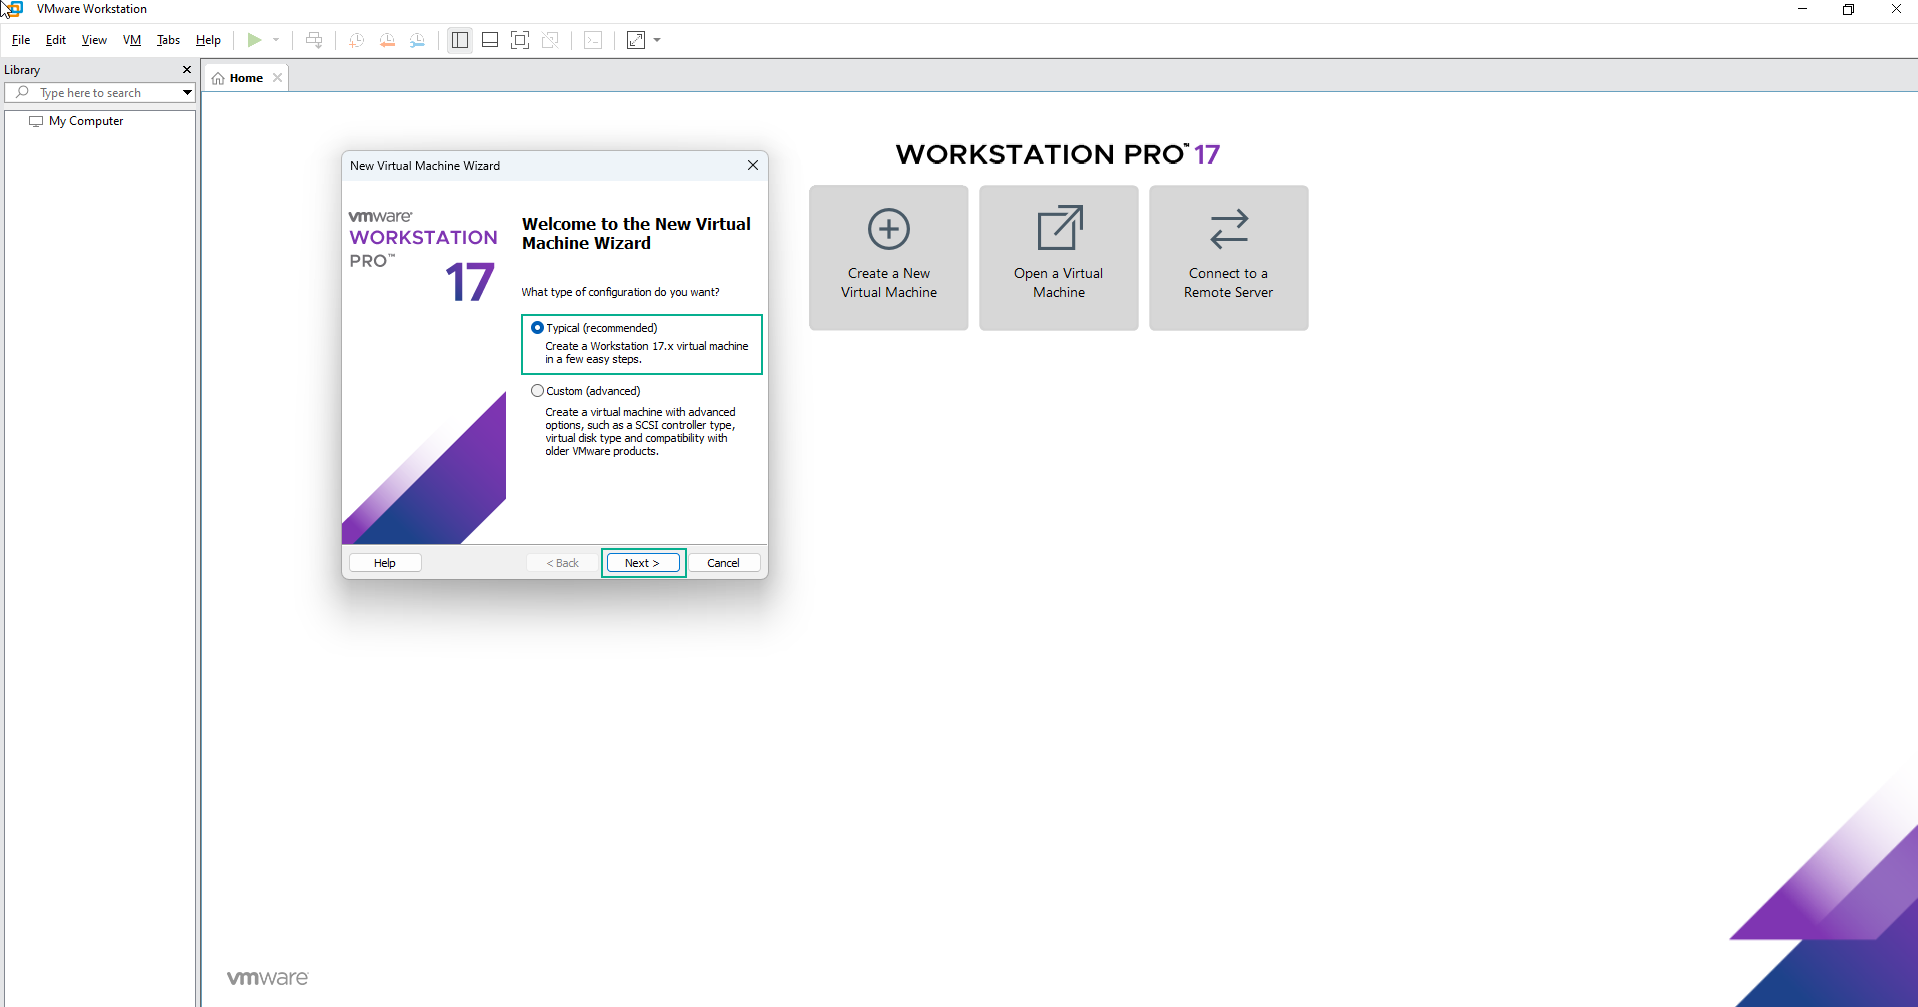
At the Welcome to the New Virtual Machine Wizard, select Typical (recommended):
-
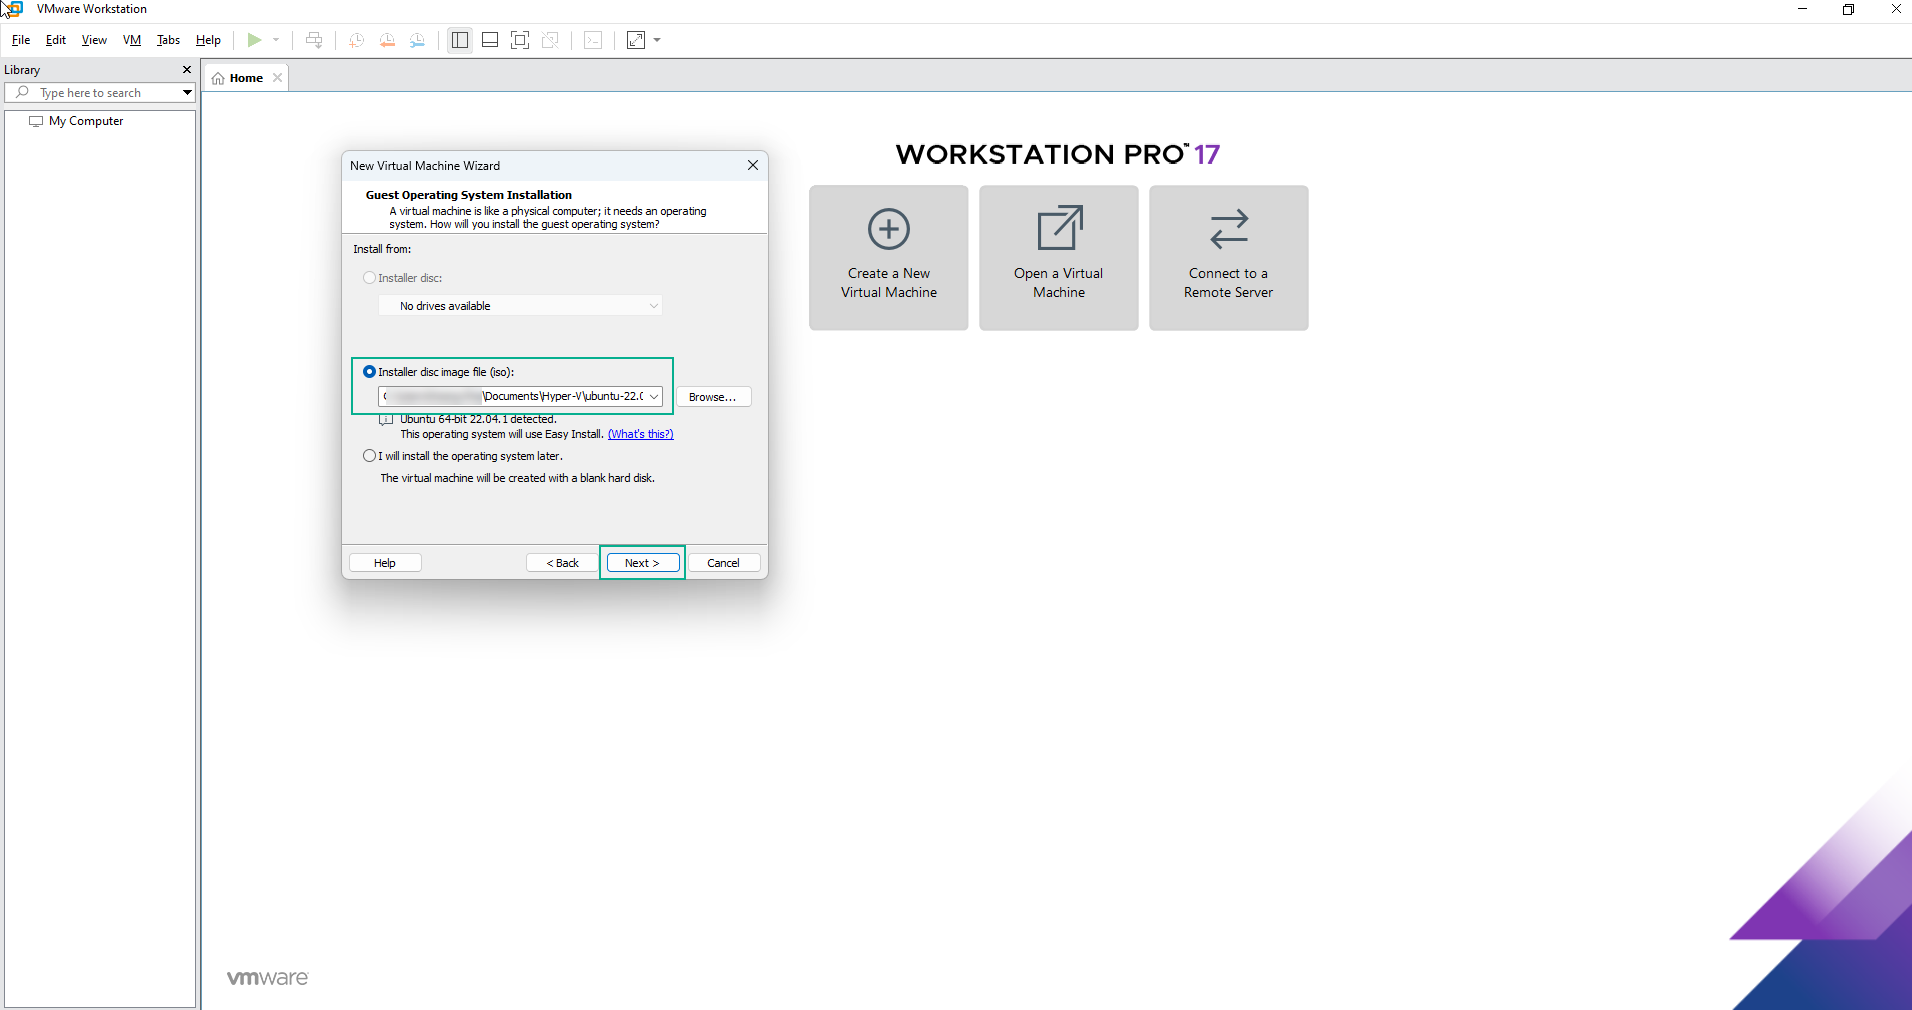
In the Guest Operating System Installation section, select the Image file (.iso) of the latest Ubuntu desktop version. You can download this file from the Ubuntu Release page:
-
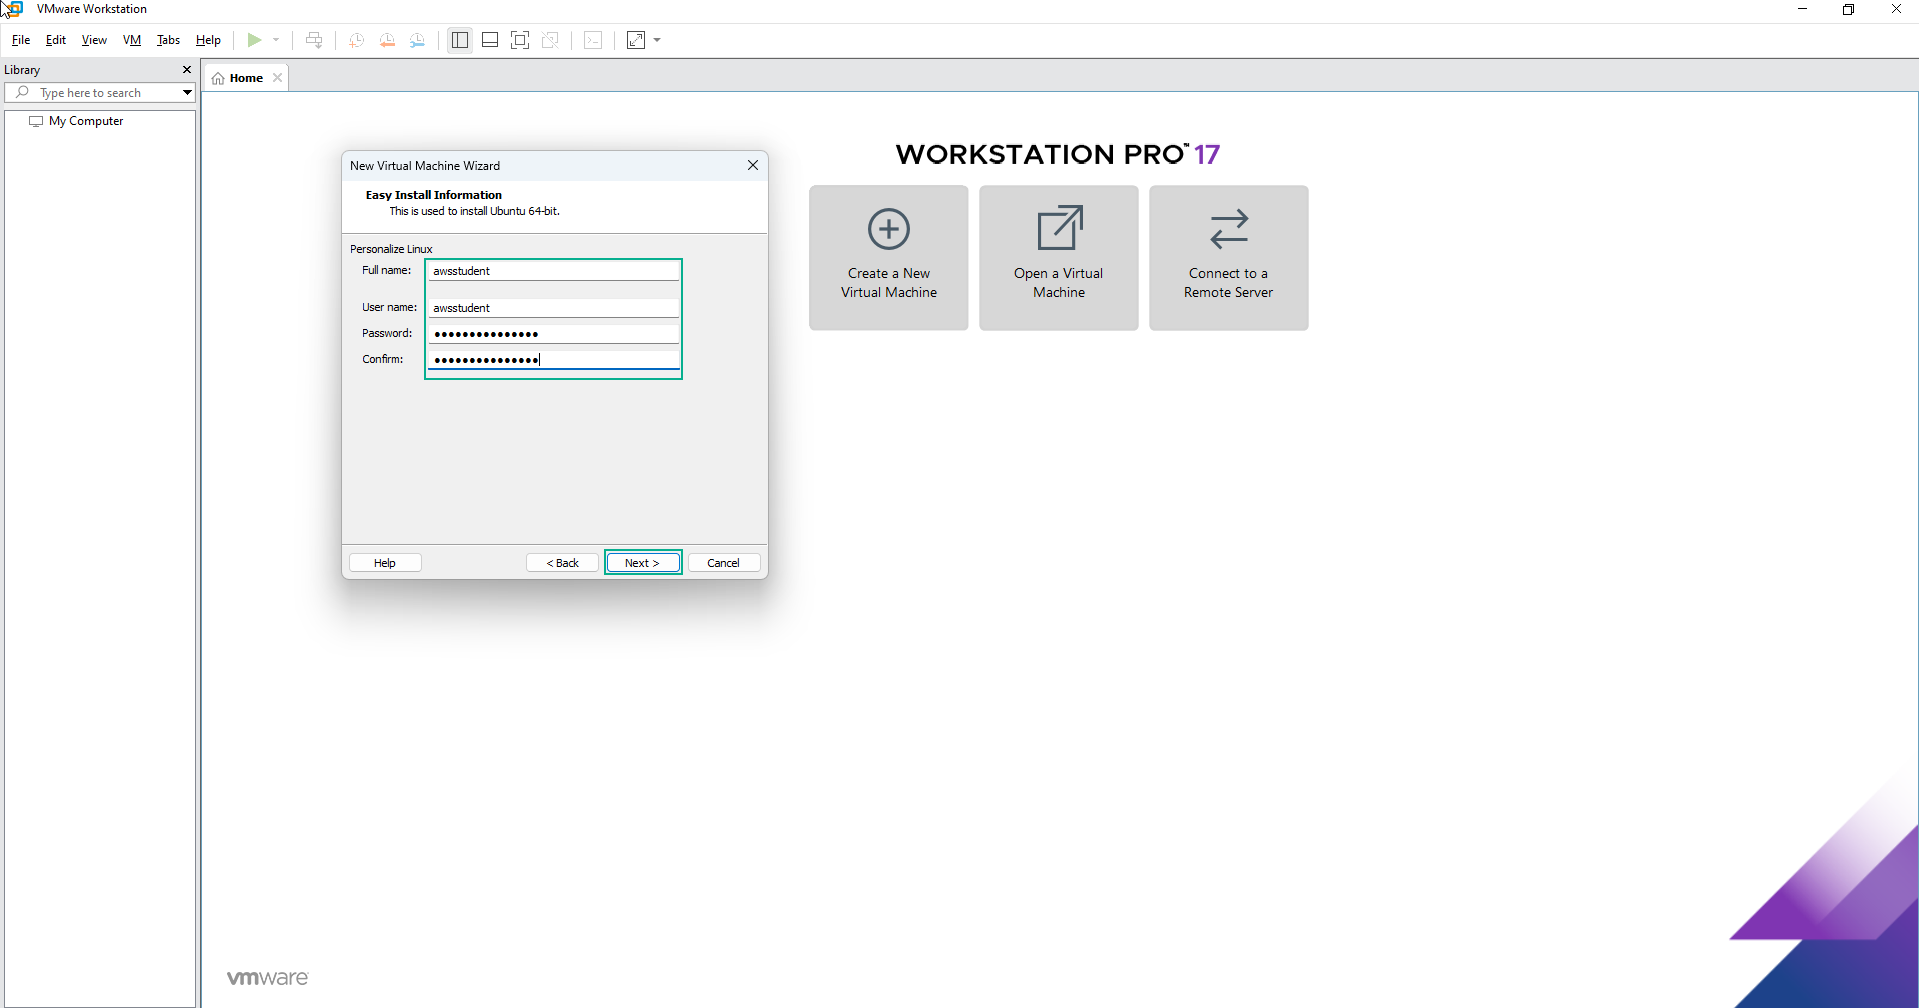
In the Easy Install Information section, enter Username as awsstudent and set a password:
-
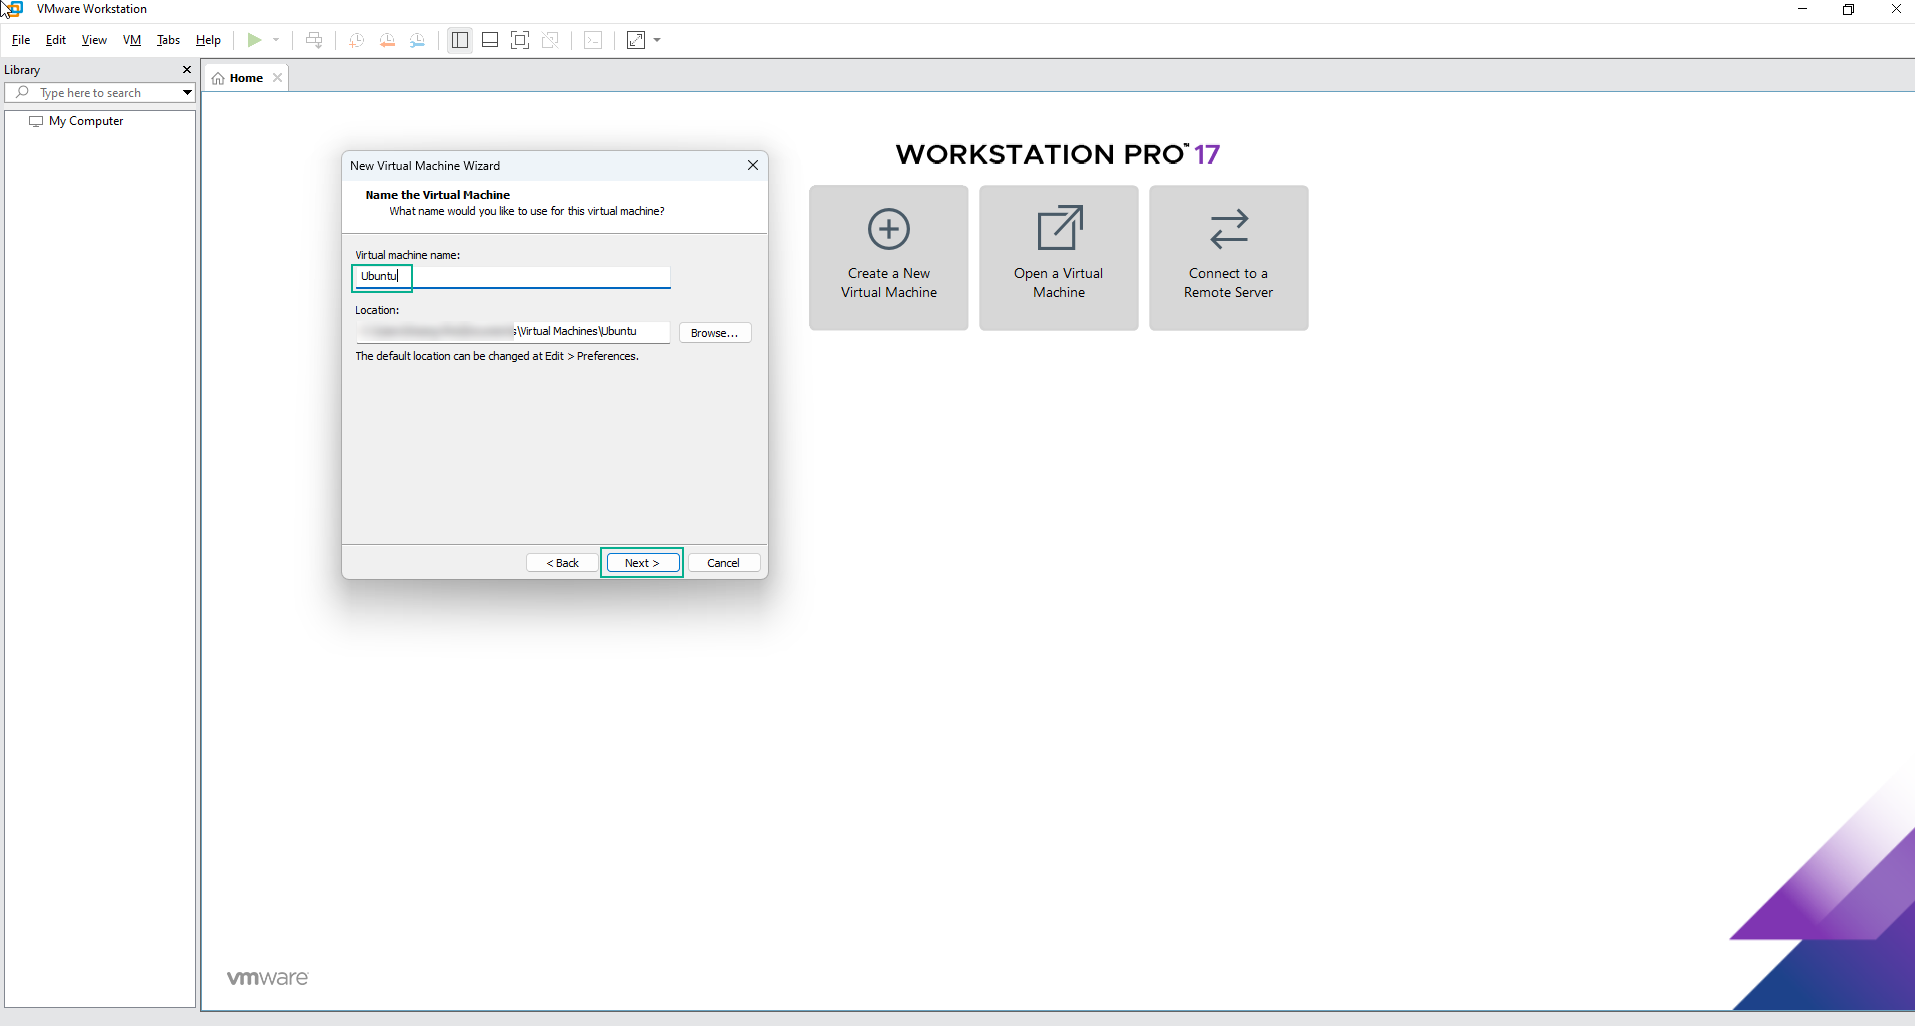
Name the virtual machine Ubuntu in the Name the Virtual Machine section:
-
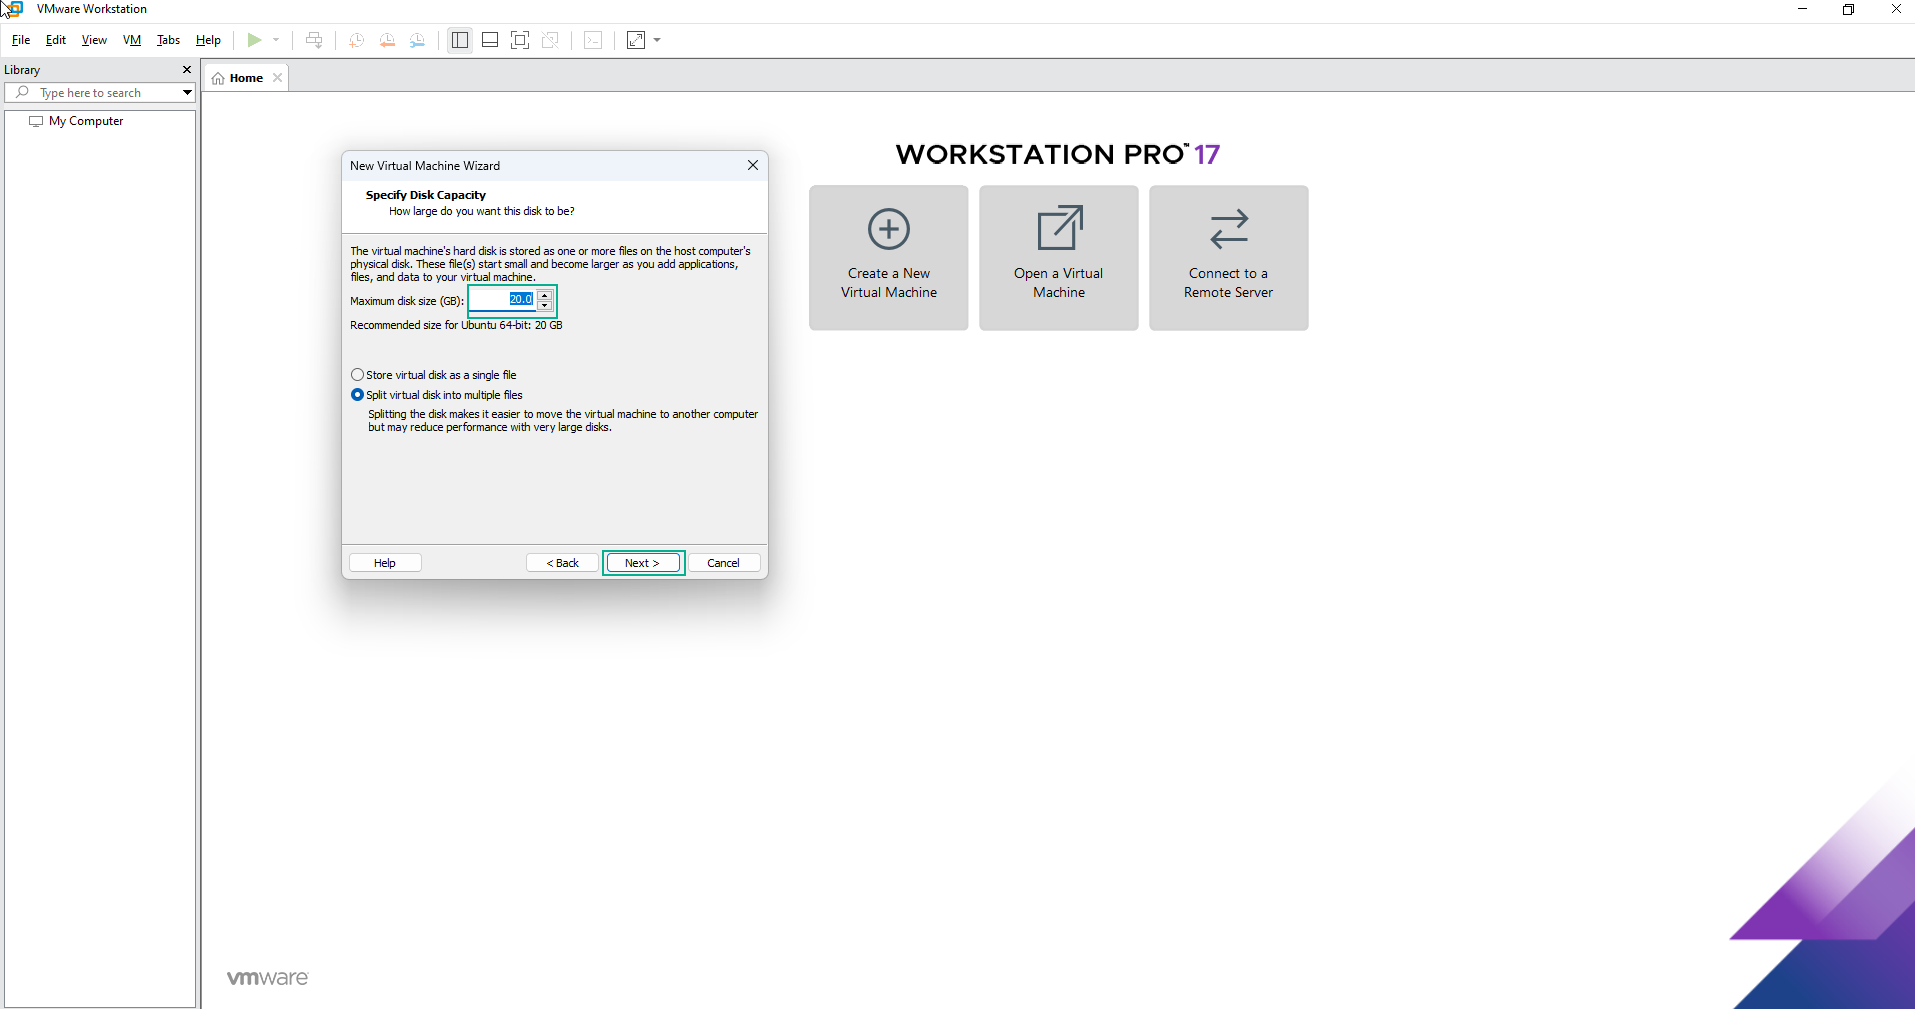
Specify the disk capacity as 20GB in the Specify Disk Capacity section:
-
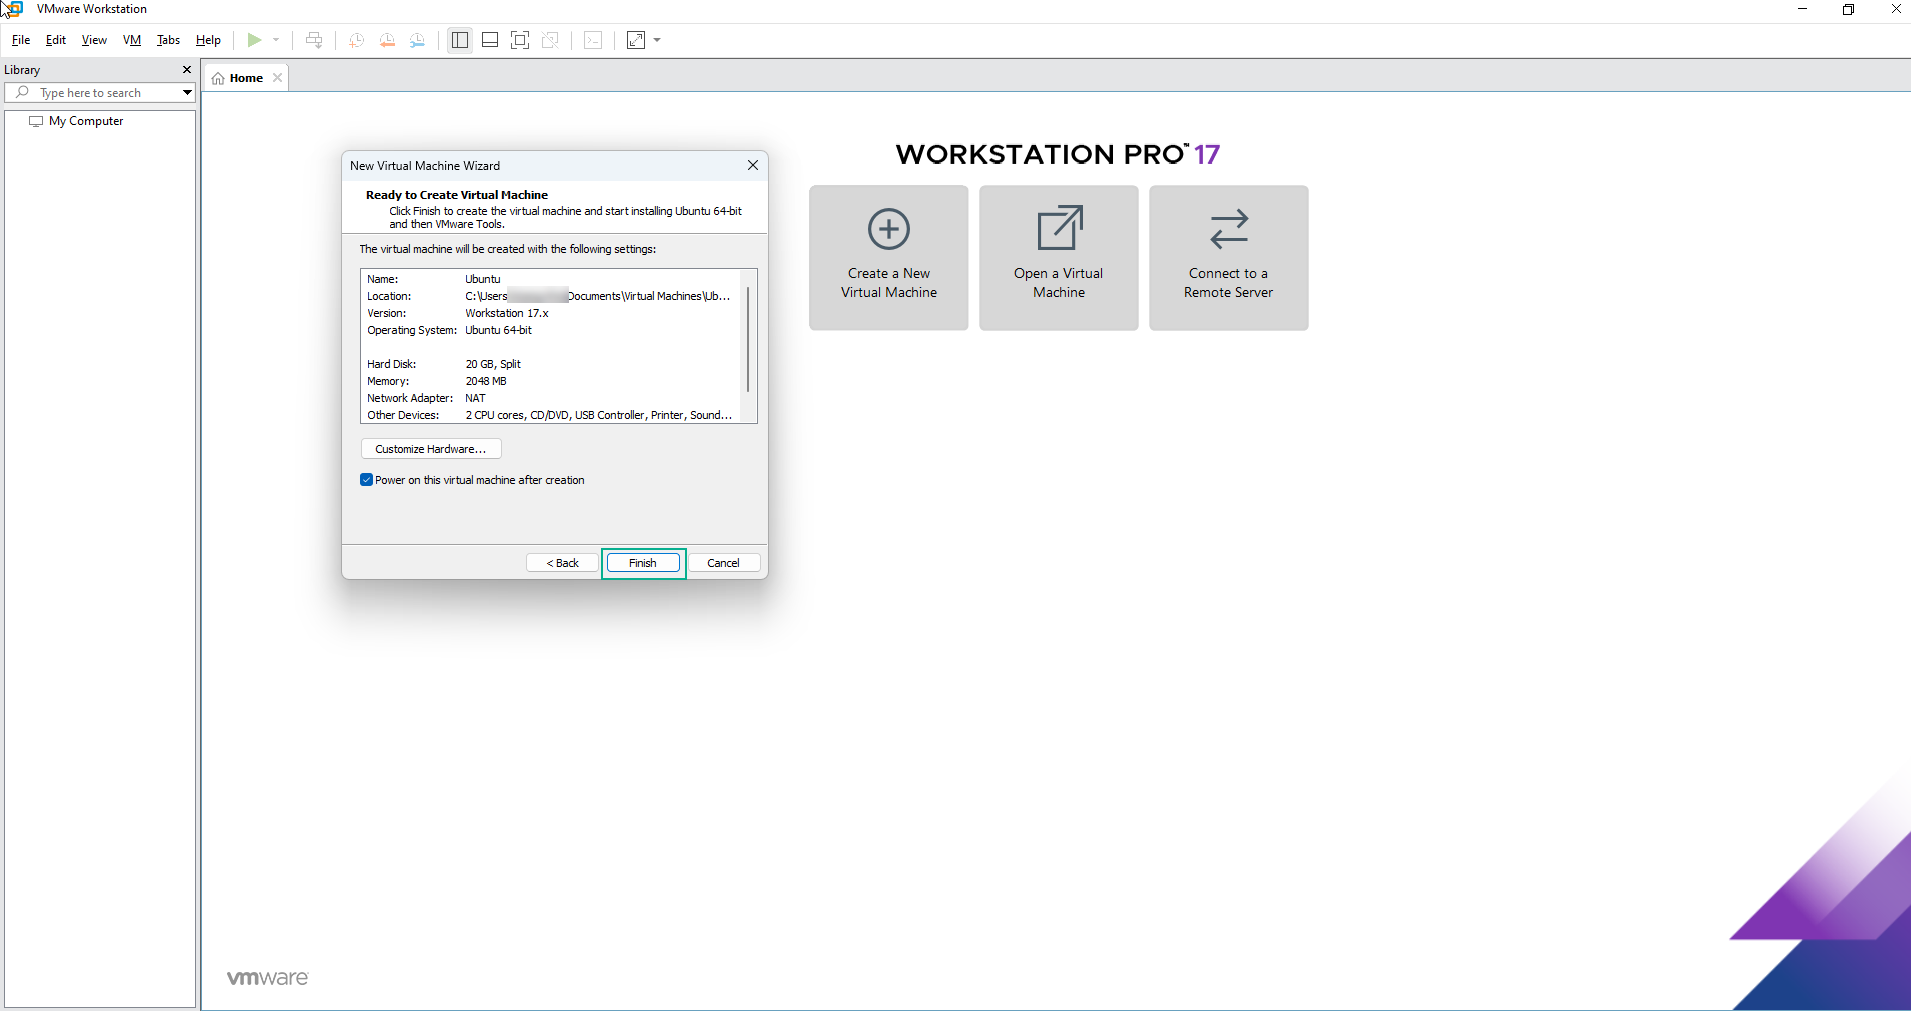
Review the parameters and select Finish to proceed with the installation:
-
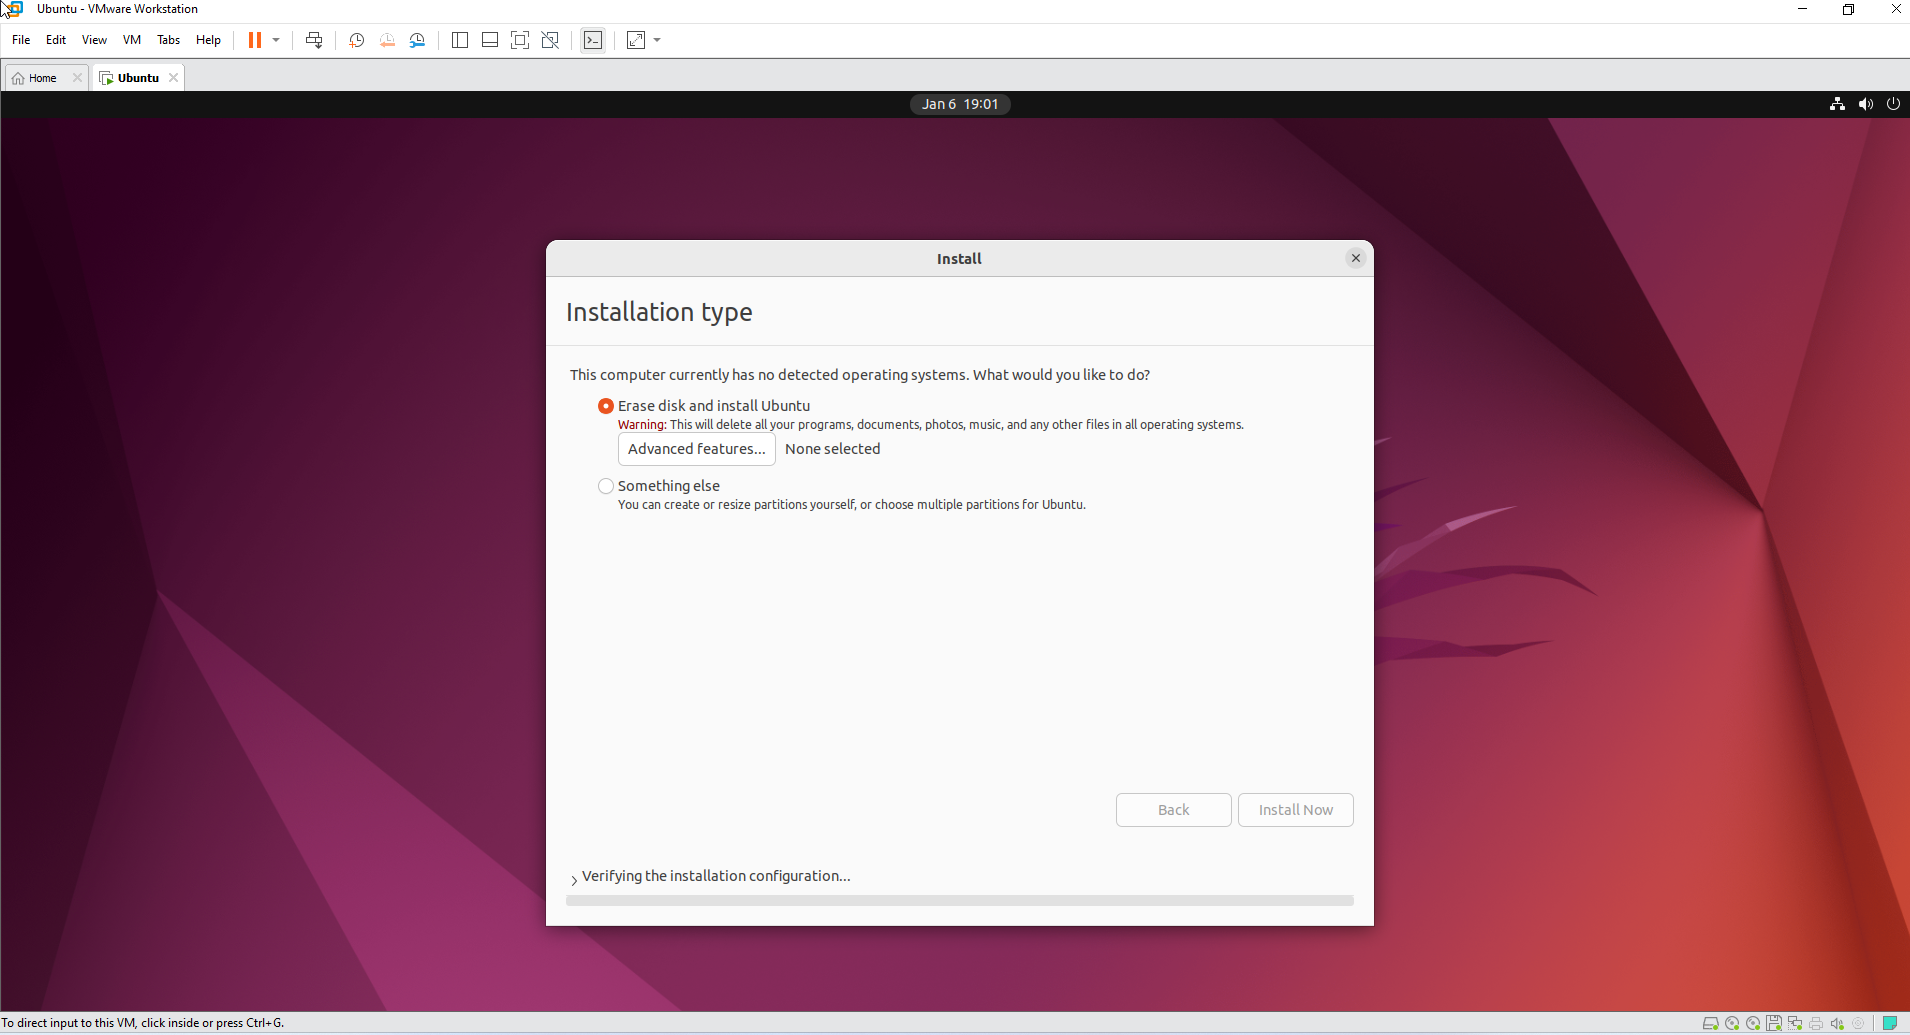
Complete the Ubuntu installation in VMware:
-
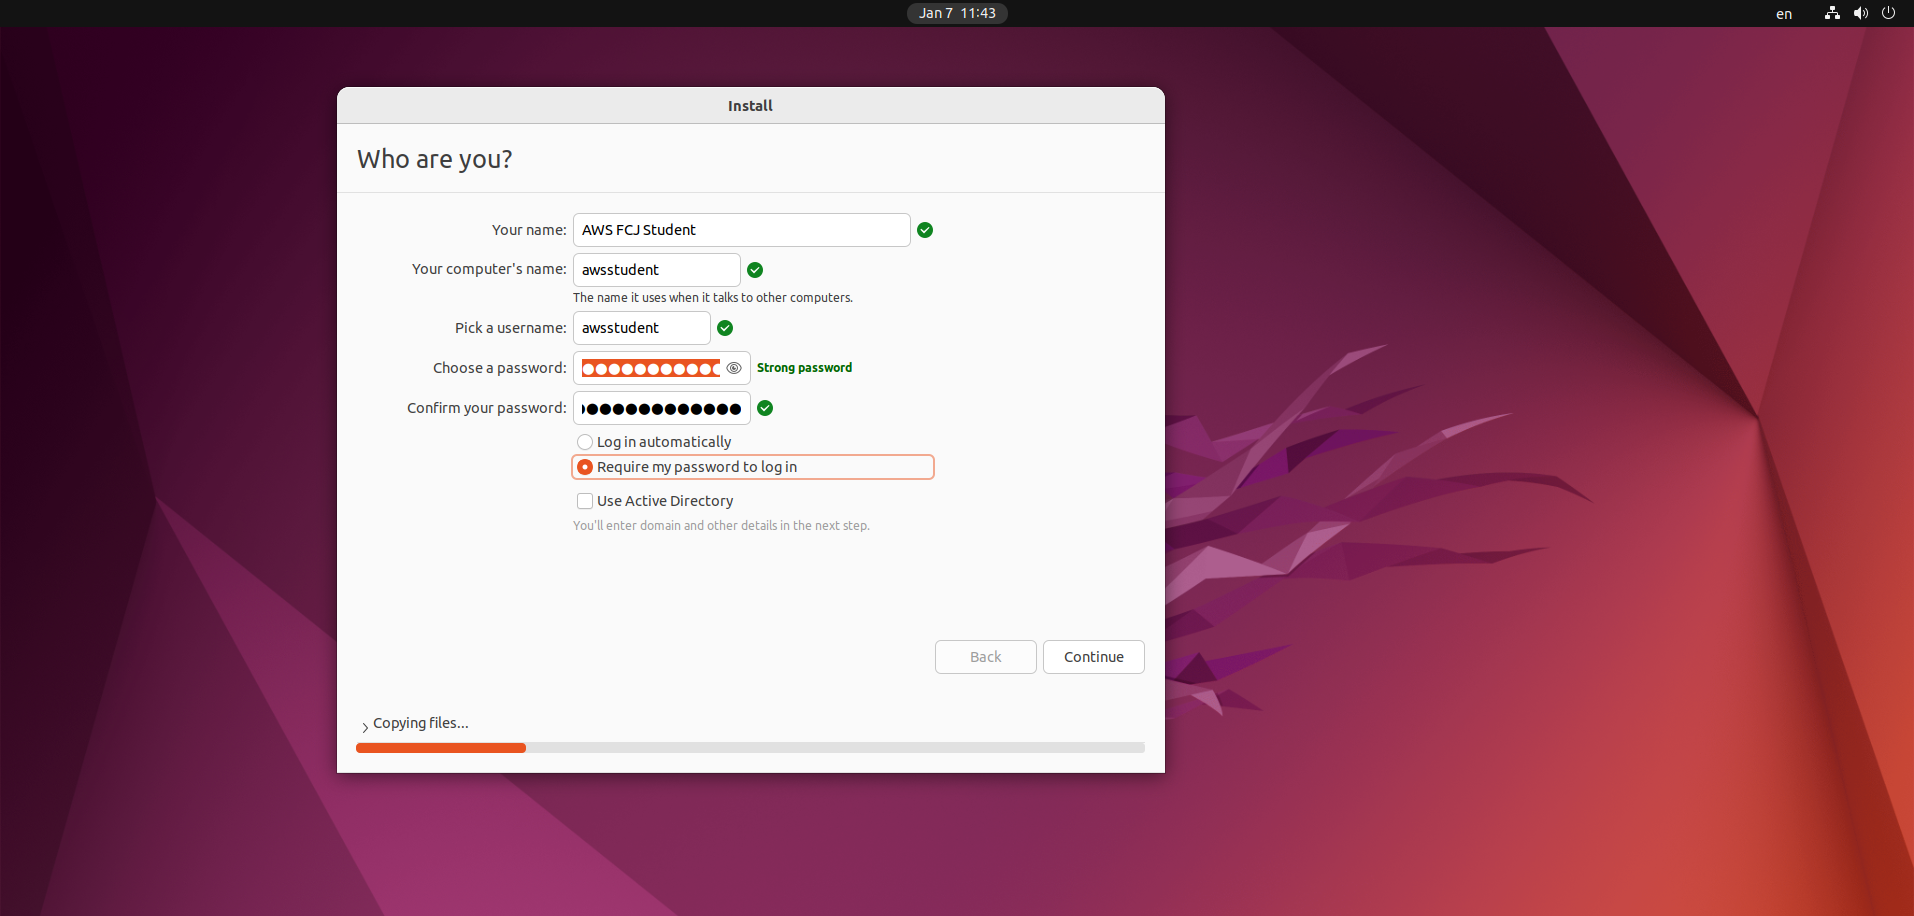
Configure the user settings:
-
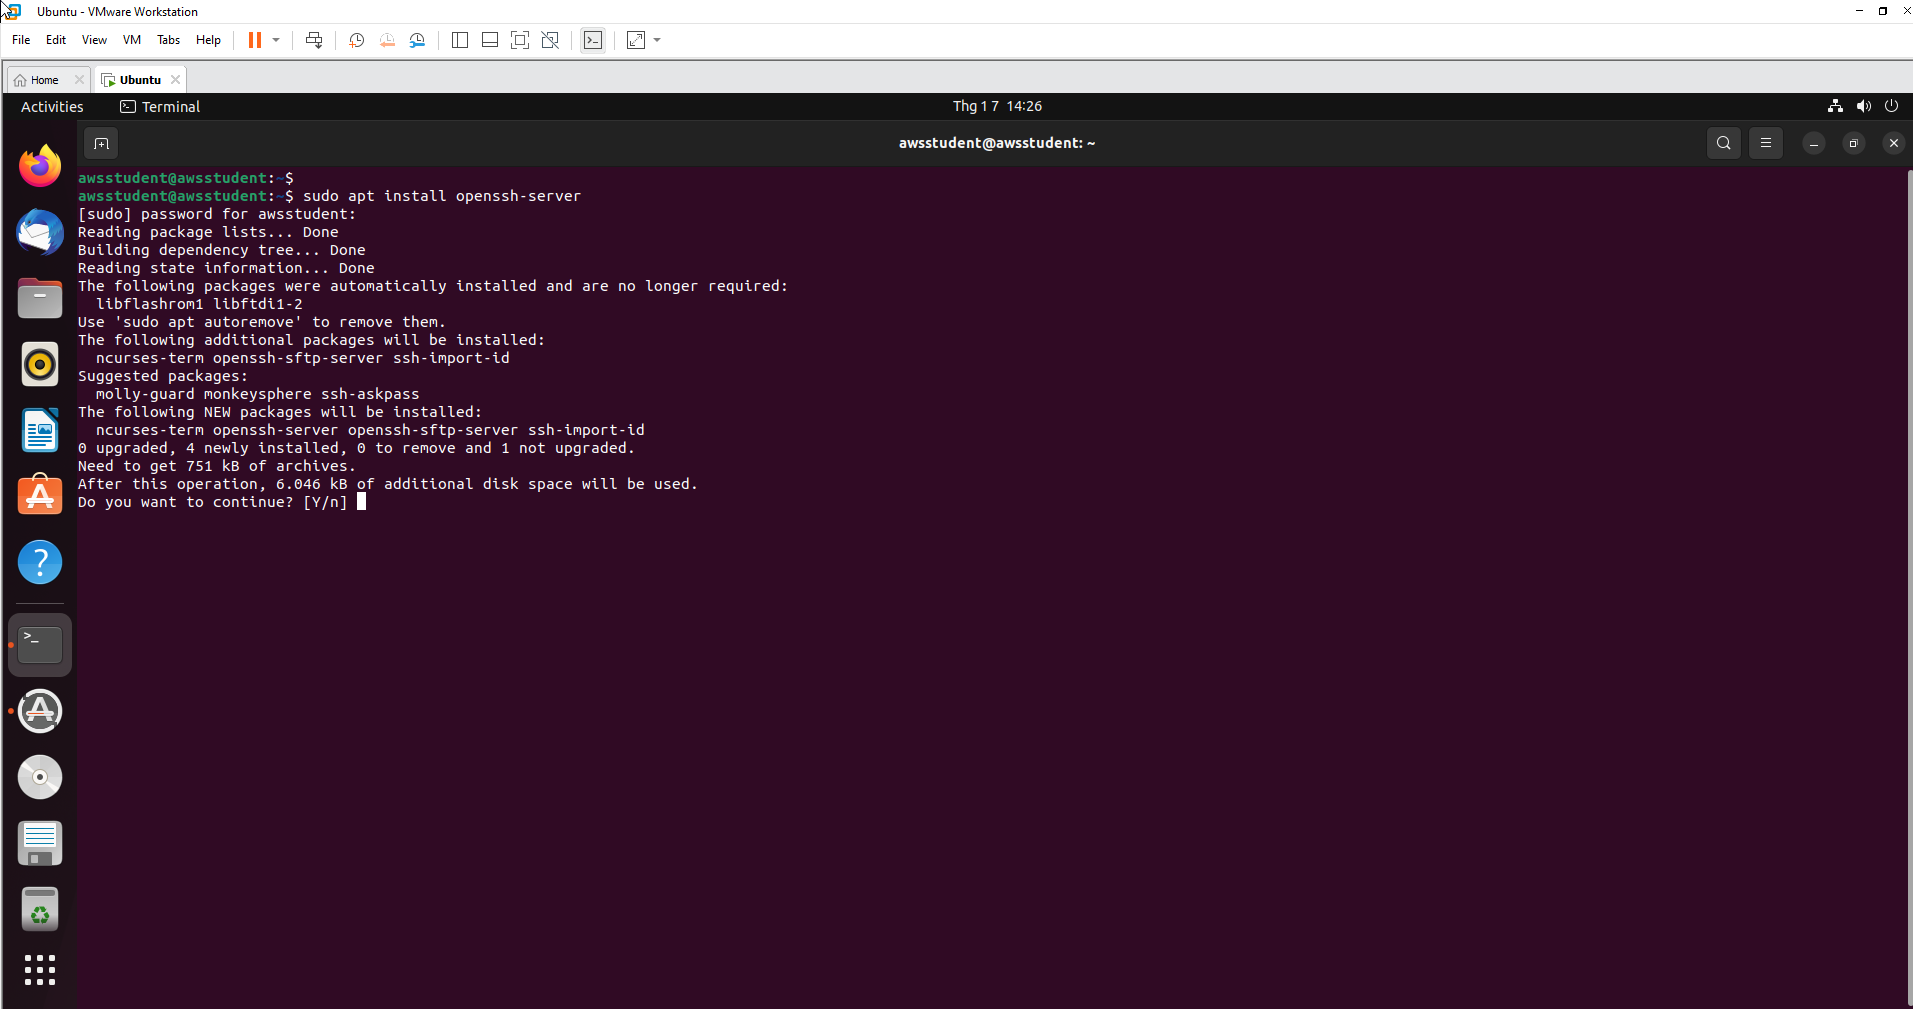
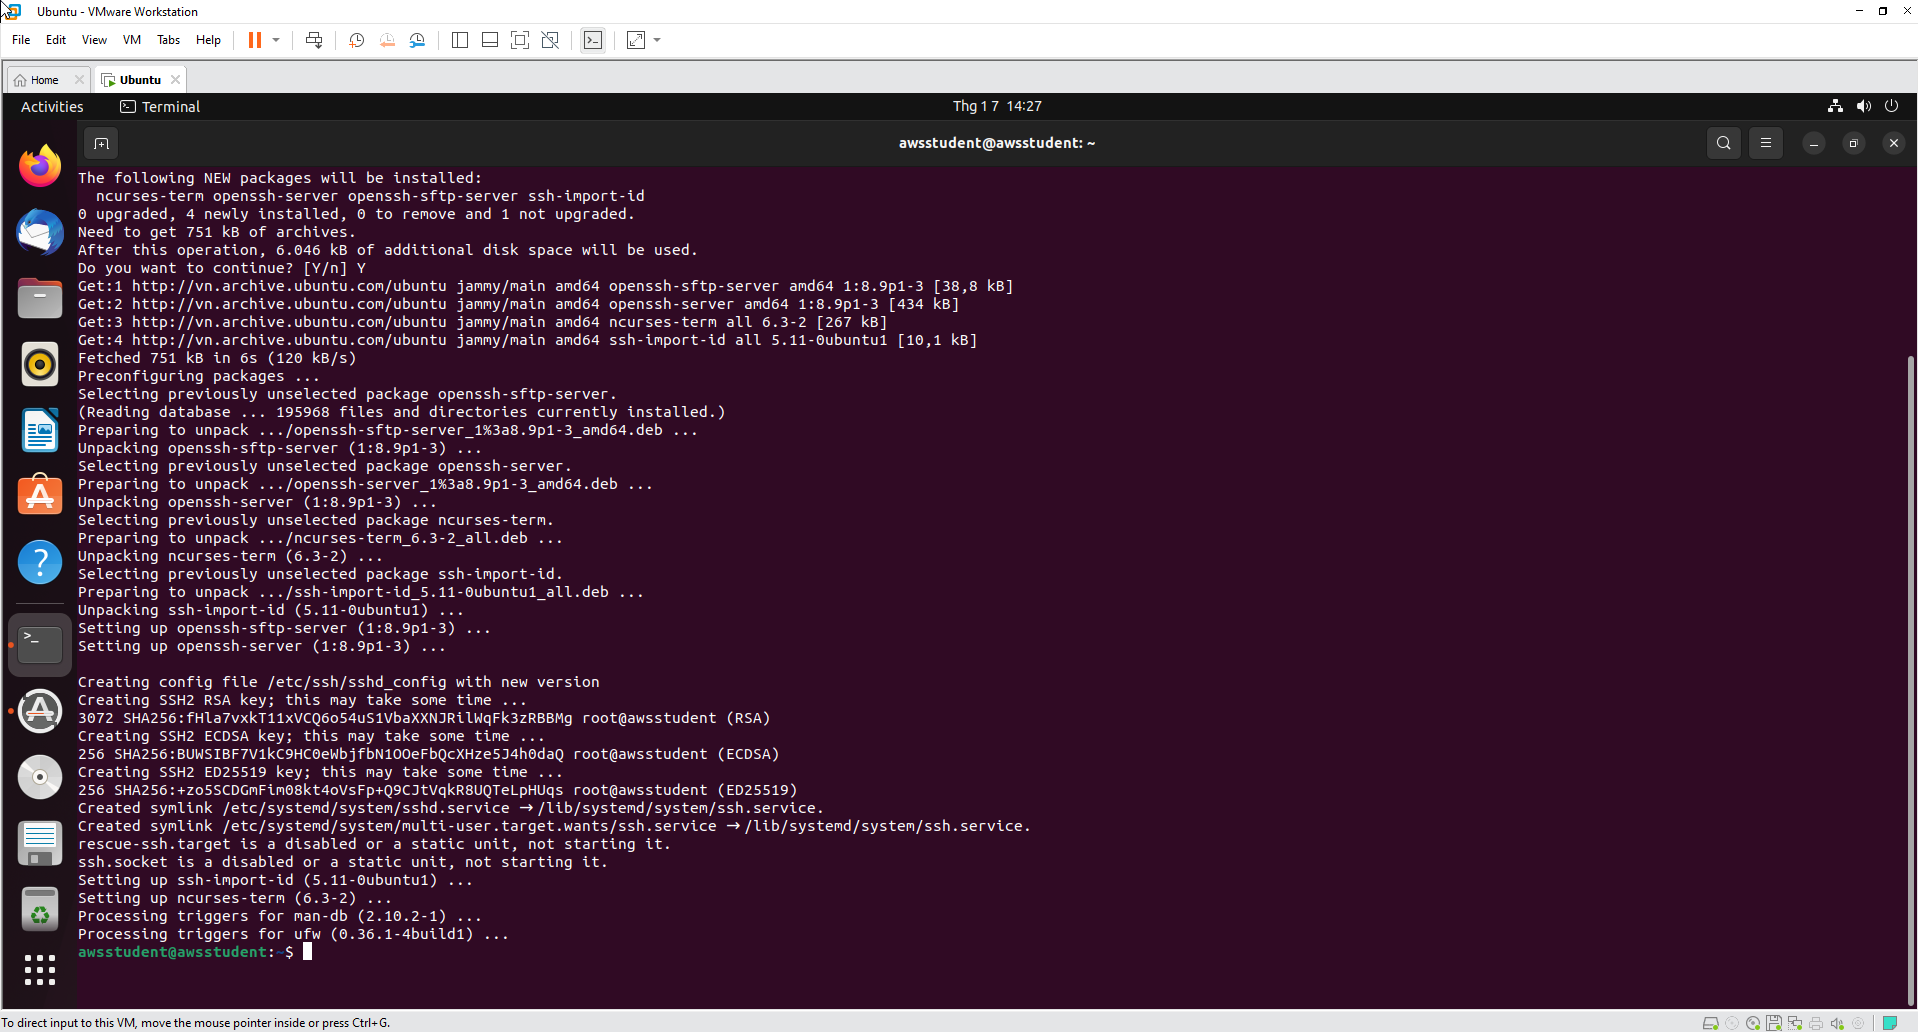
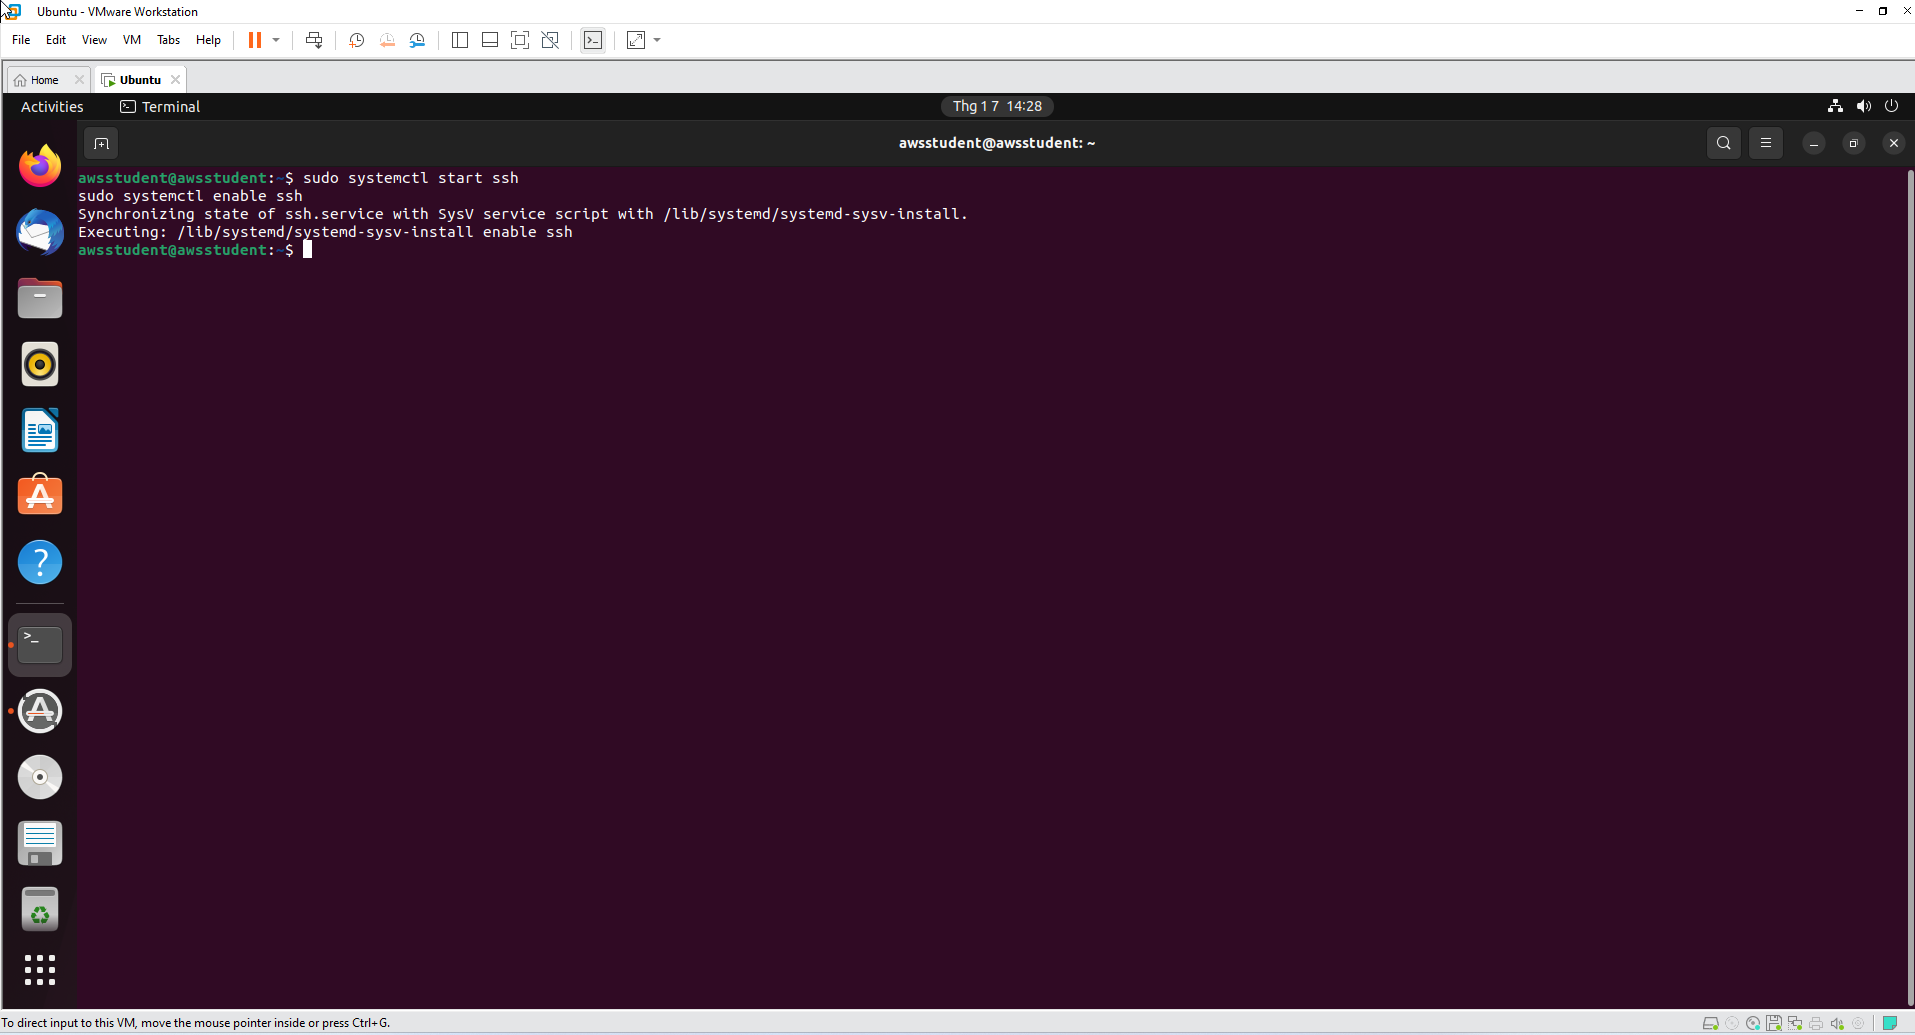
After the installation and configuration process is complete, install the OpenSSH Server to connect to this virtual machine via SSH using the following commands:
sudo apt install openssh-server
sudo systemctl start ssh
sudo systemctl enable ssh